for fearless artists and adventure lovers who keep the fire burning!
Are you looking for the best wedding LUTs to color your wedding films? We here at Flames & Roses together with SuperWeddings and other amazing wedding videographers have created a series of mind blowing wedding LUTs for you to choose from. By reading this text you will not only see how they were made, how they work but you will also be able to purchase them right away.
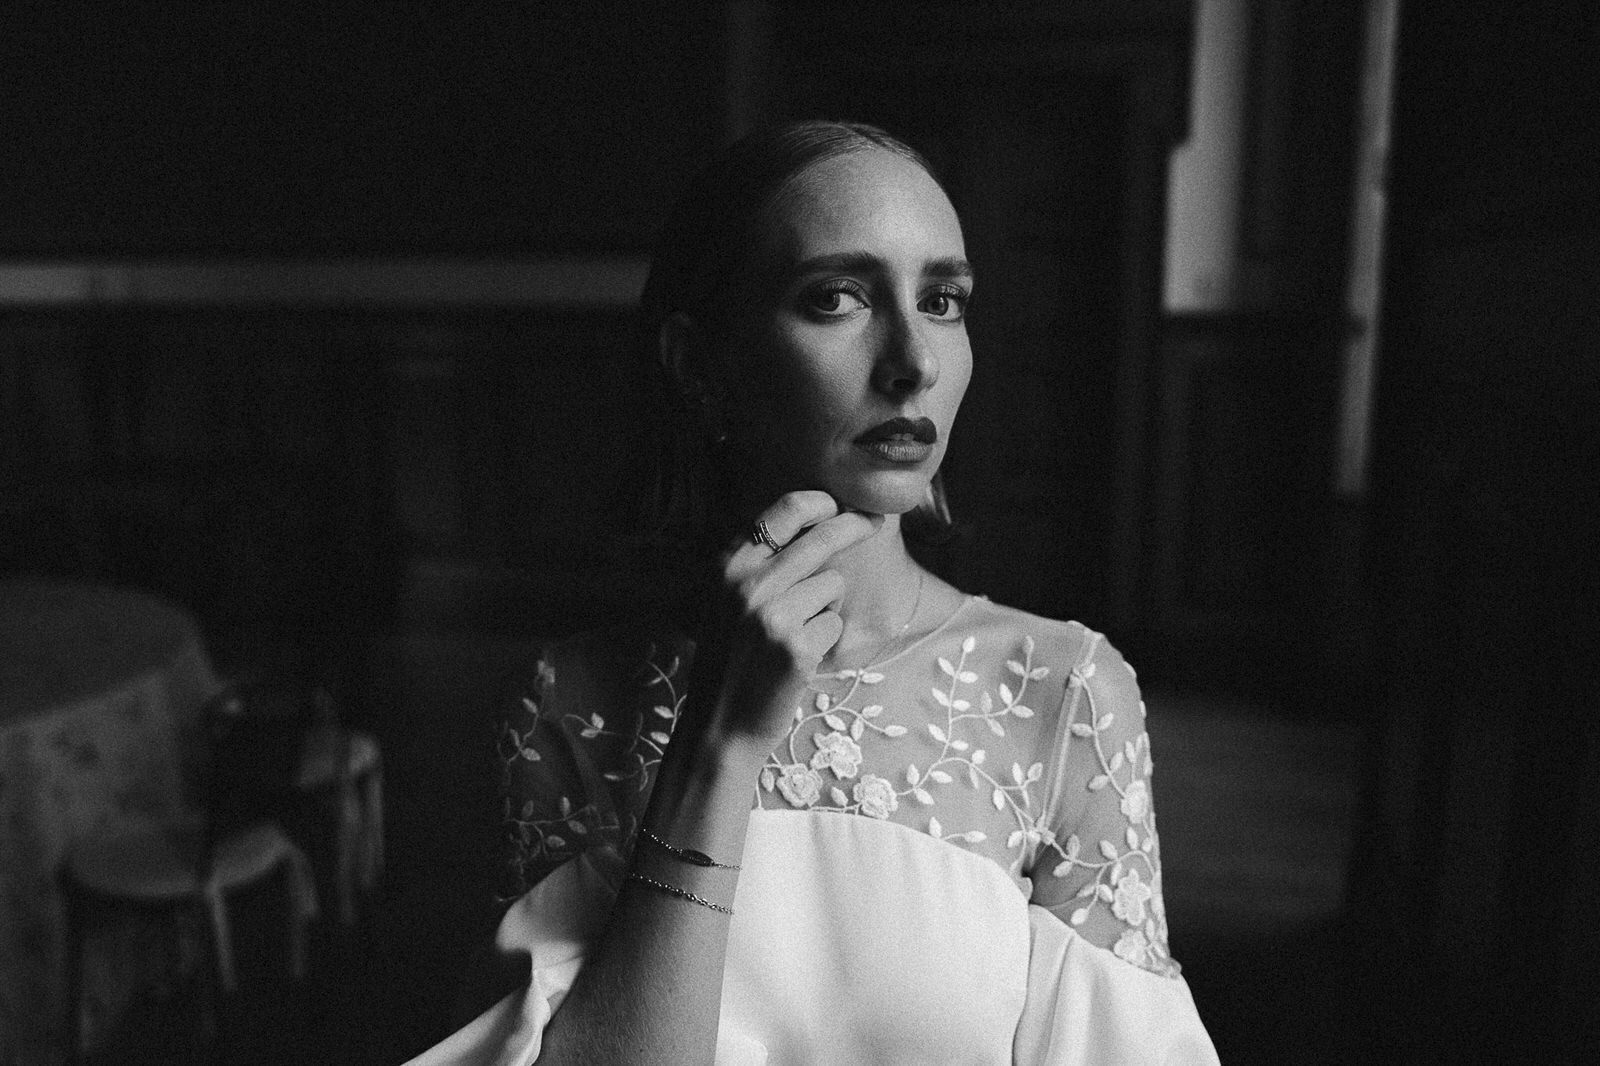
In the beginning you should ask yourself a question: what is the most important for you behind each and every wedding LUTs and your couples in terms of the specific grading and most probably that amazing cinematic look. I am sure already know the answer. It’s a blend of accurate and pleasing skin tones and overall mood.

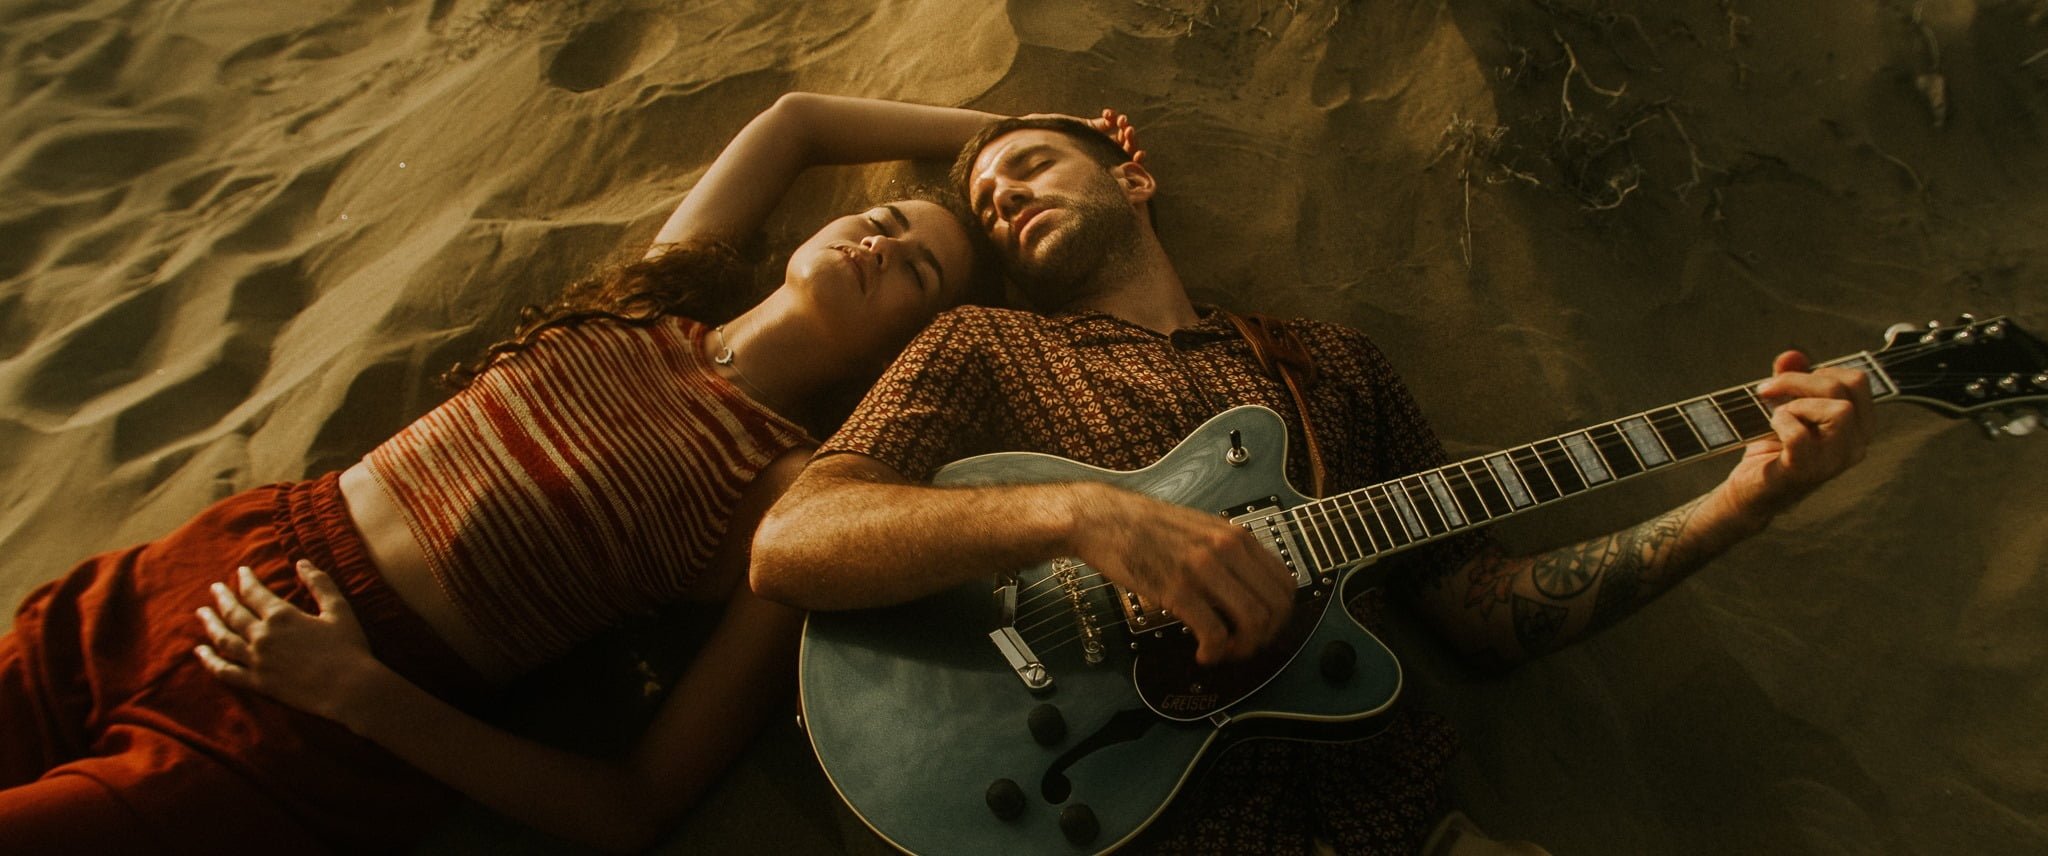
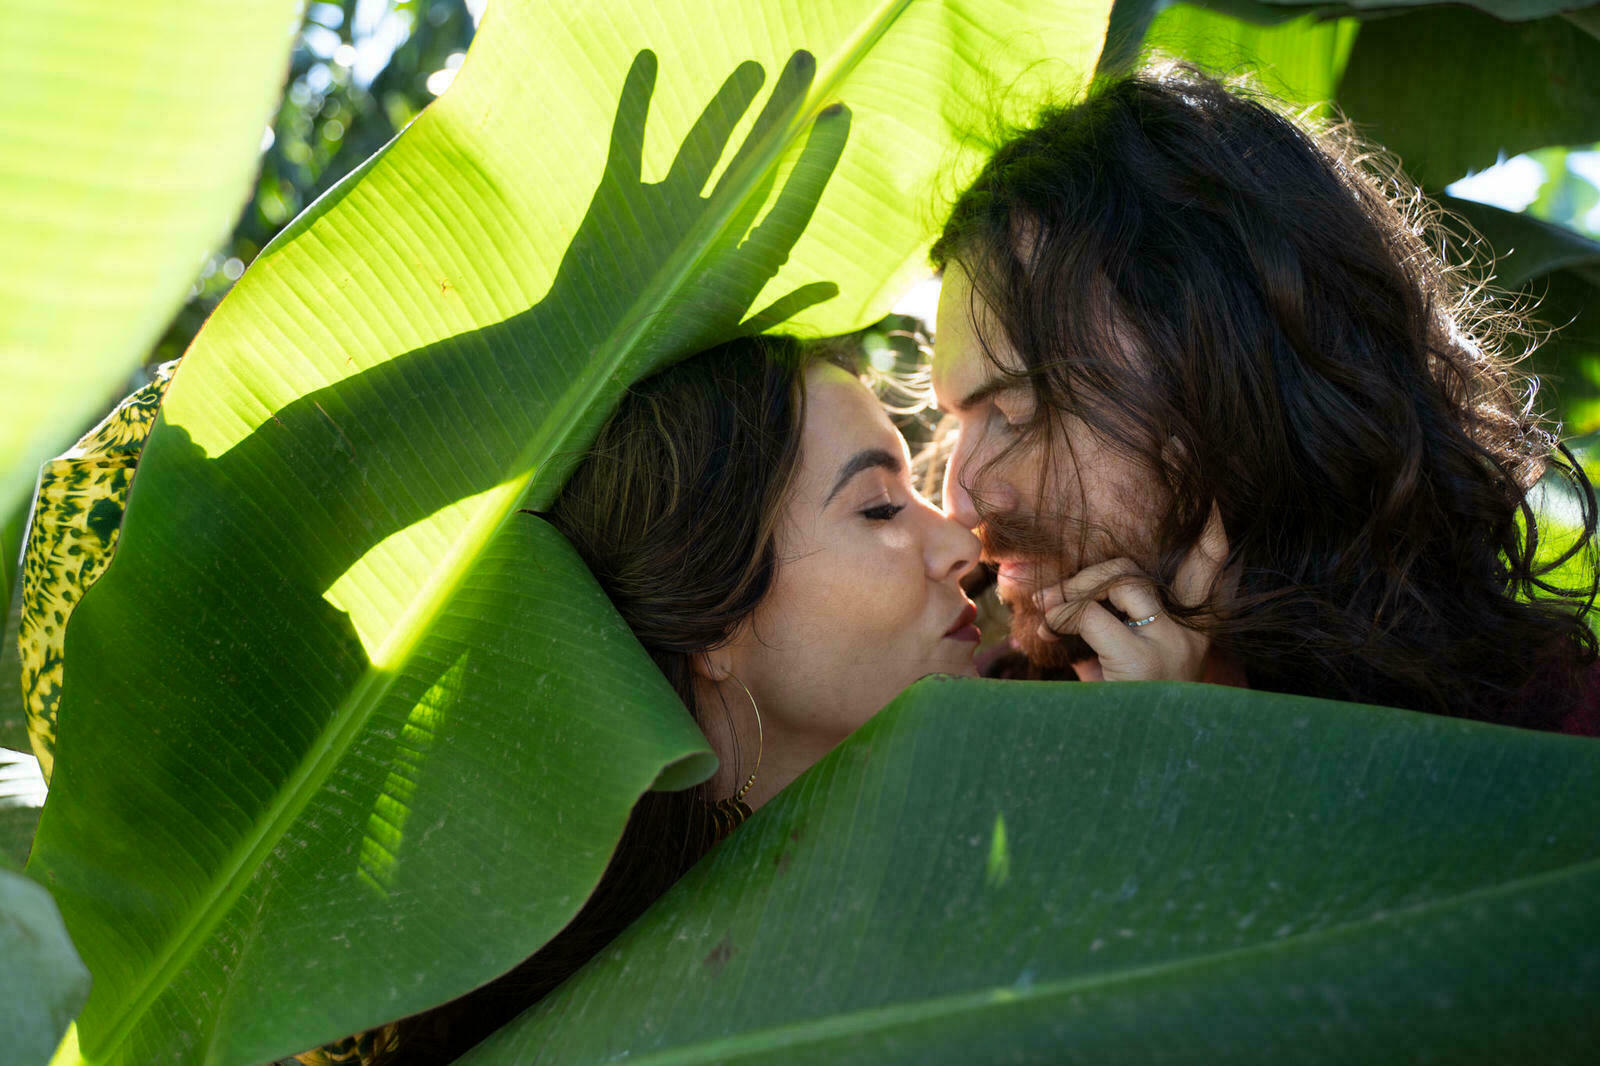
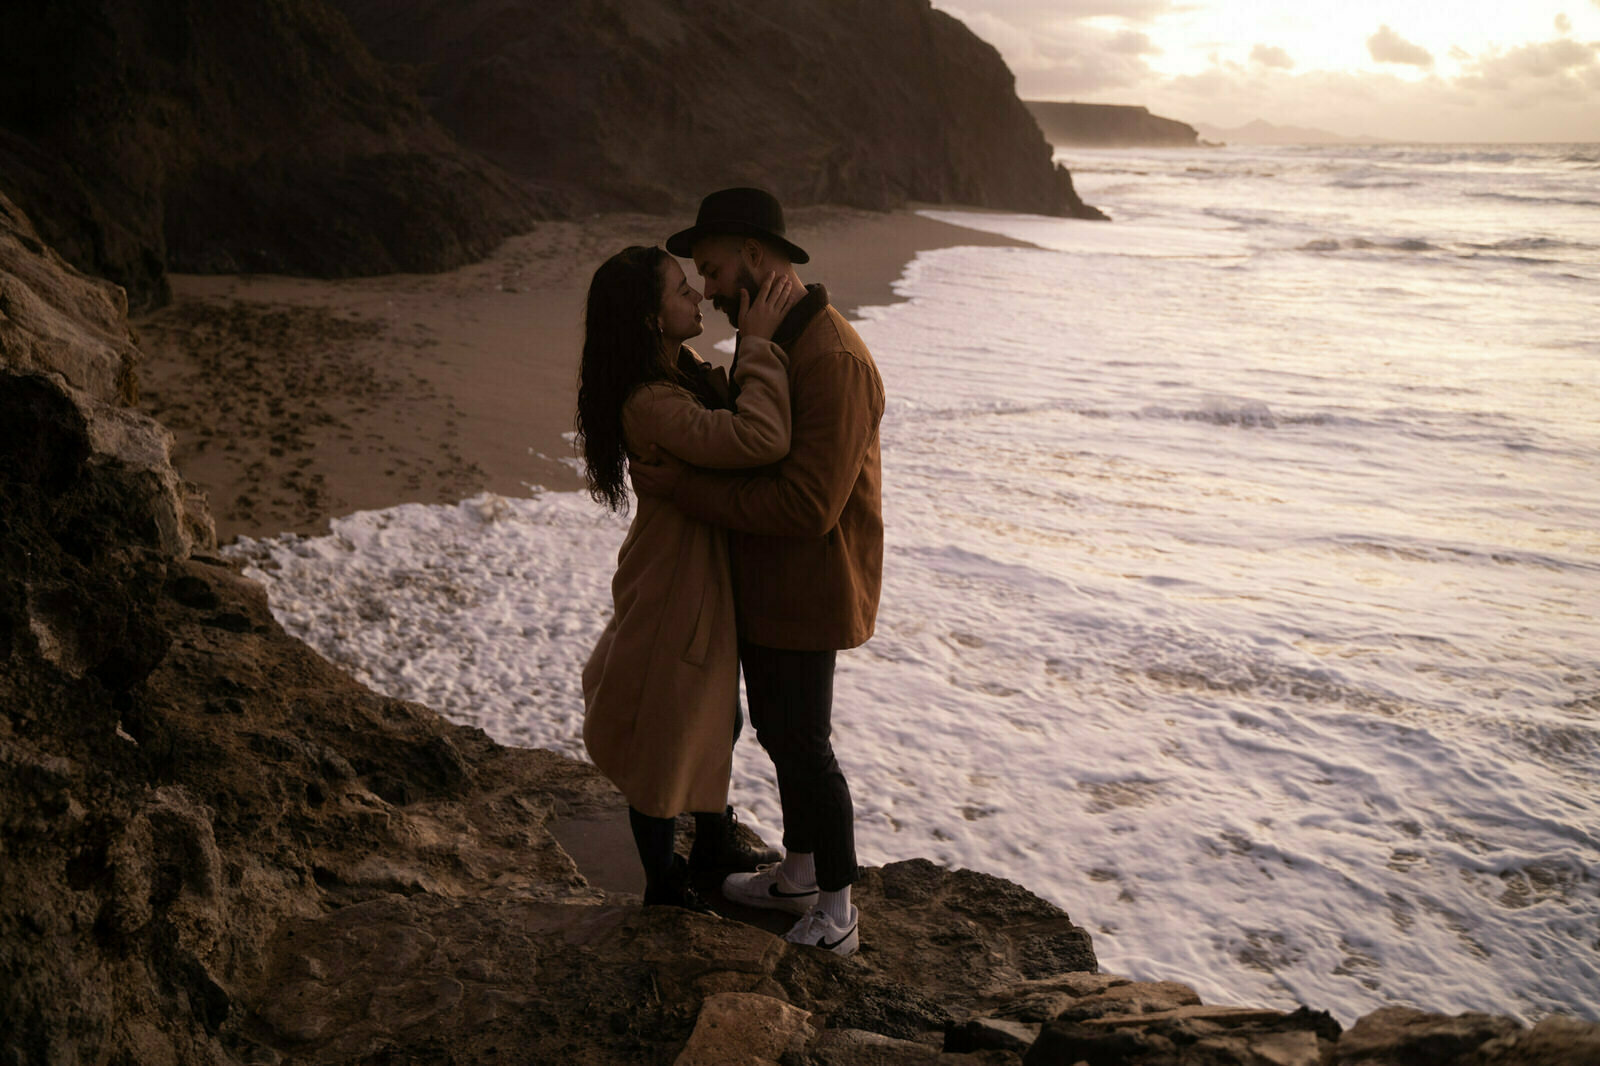
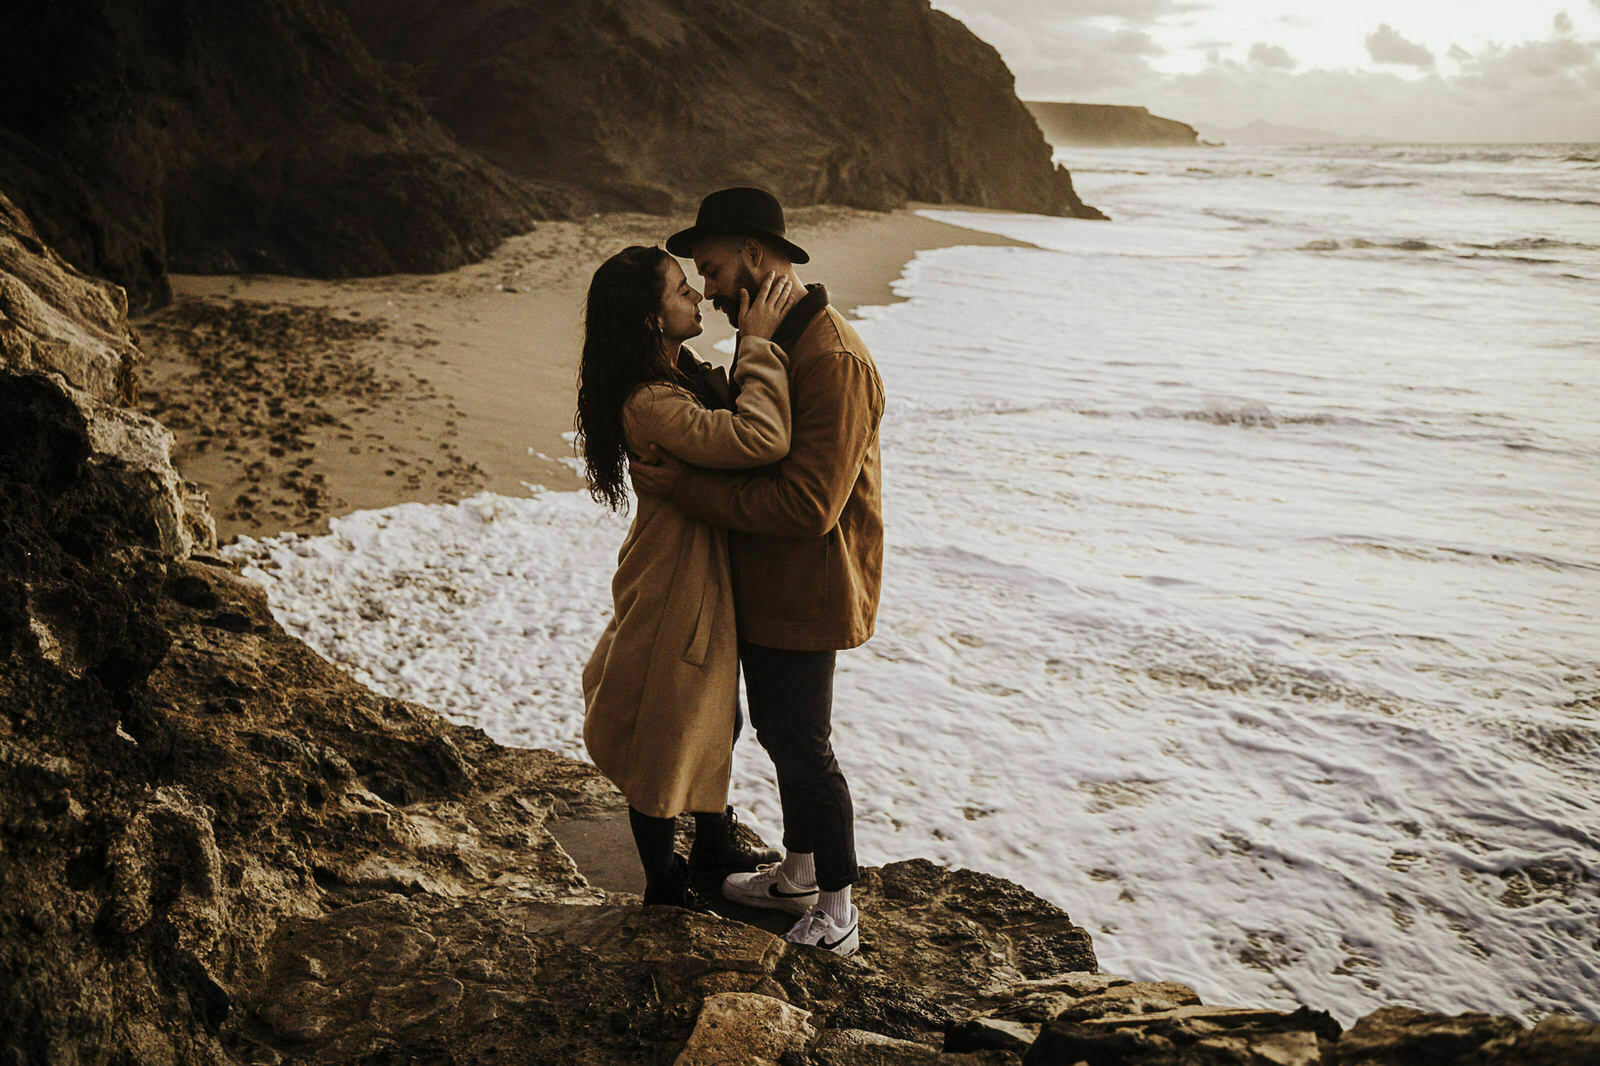
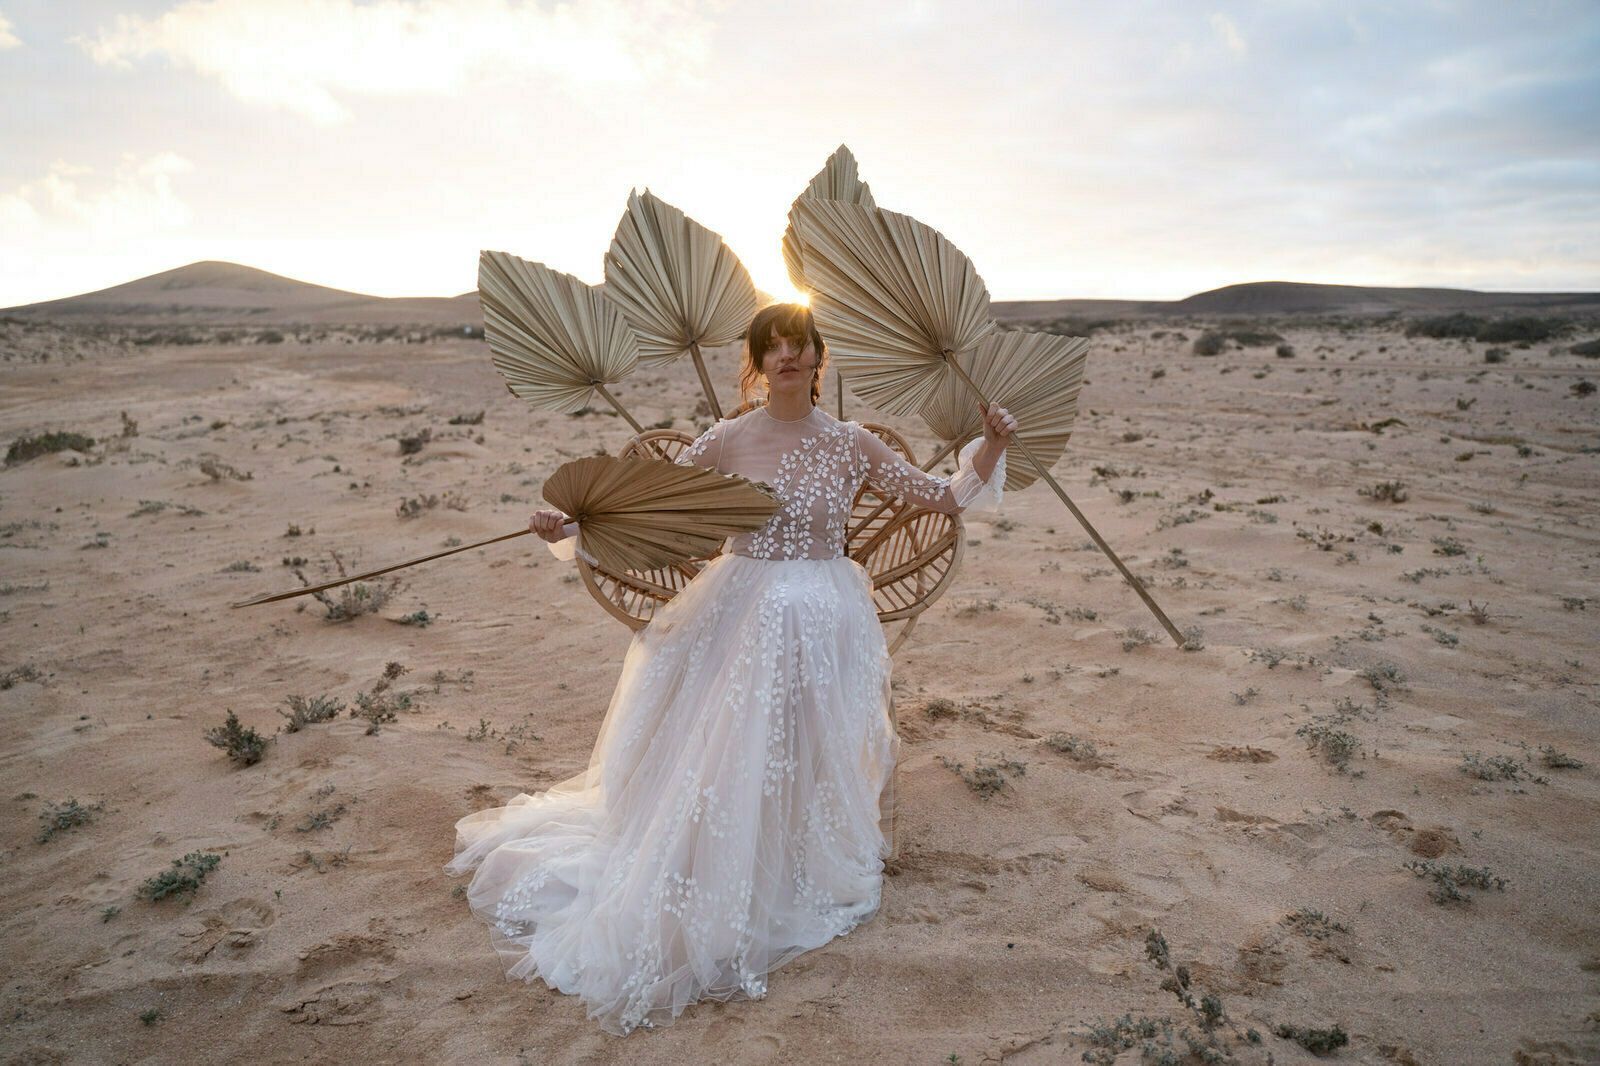
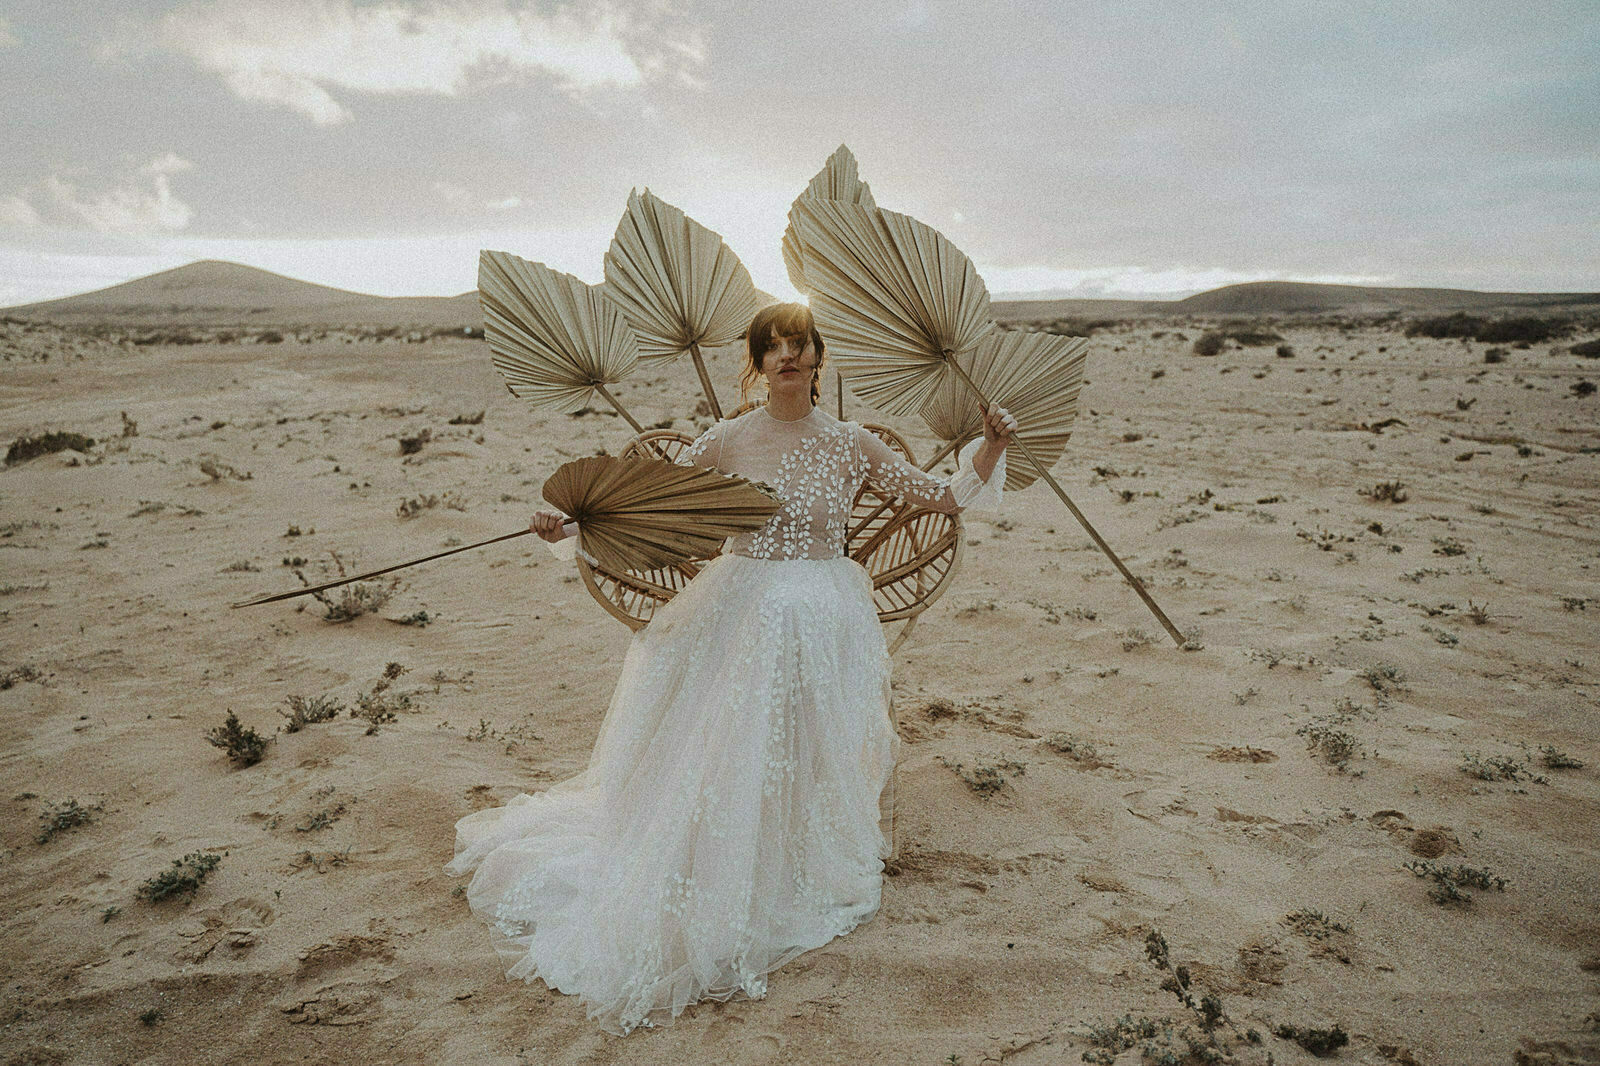
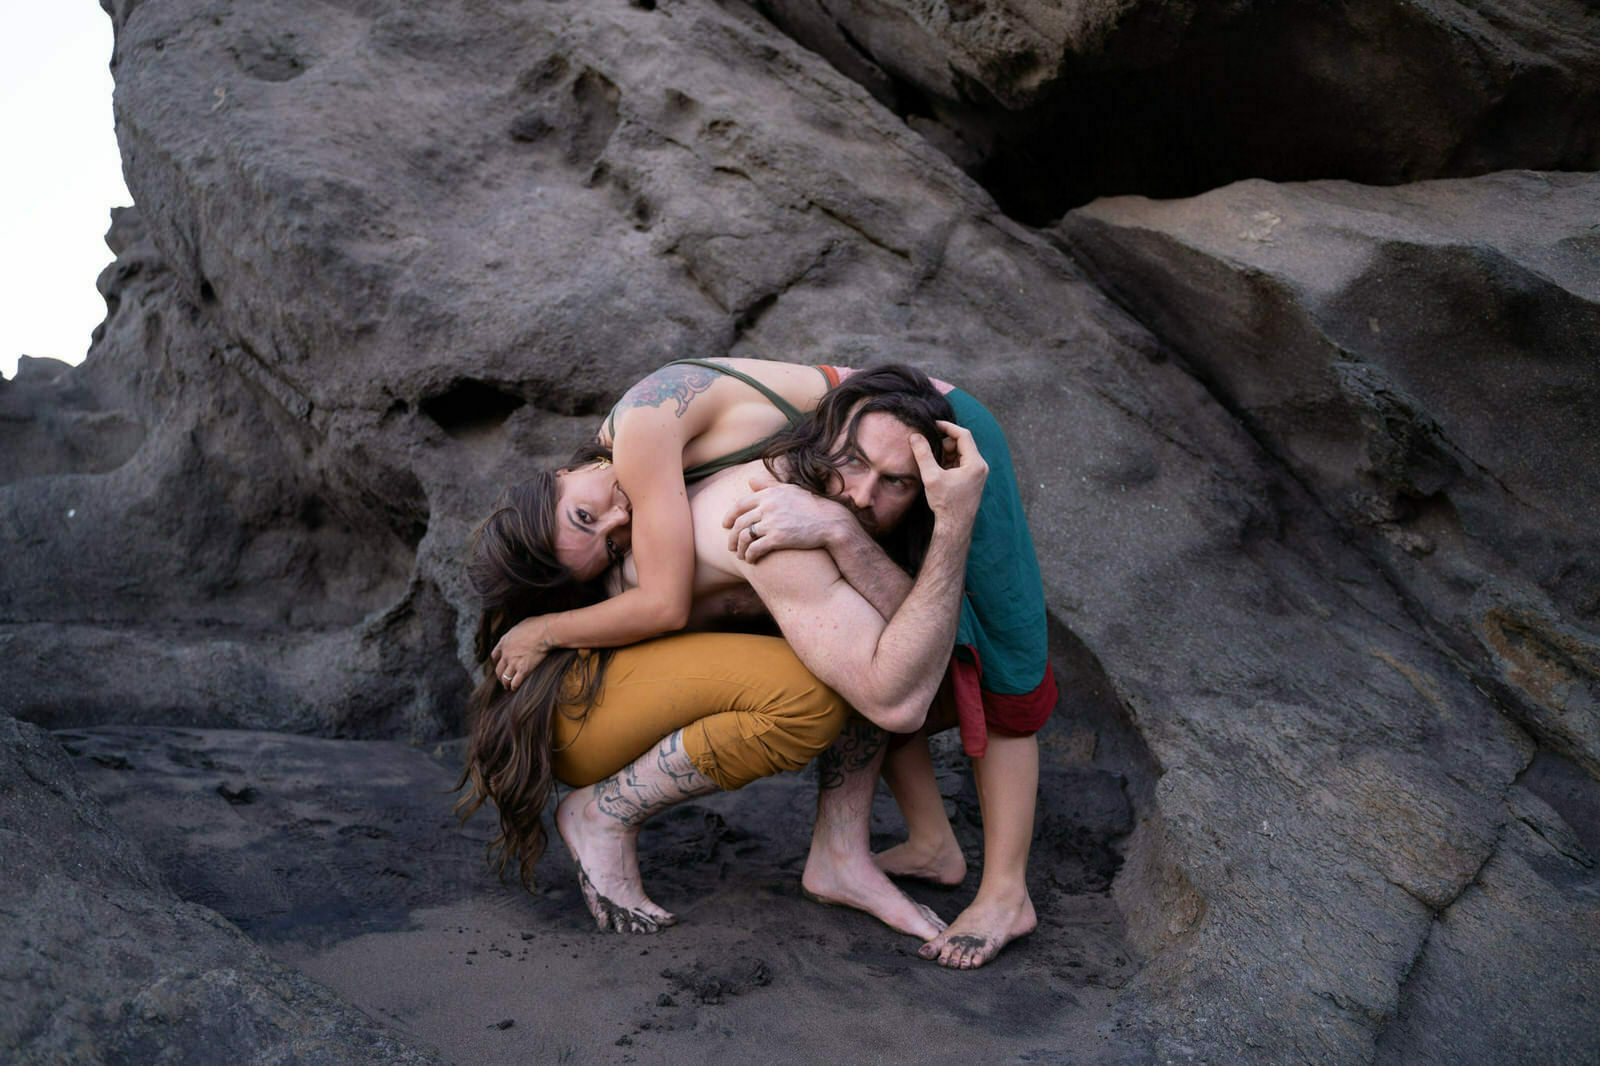
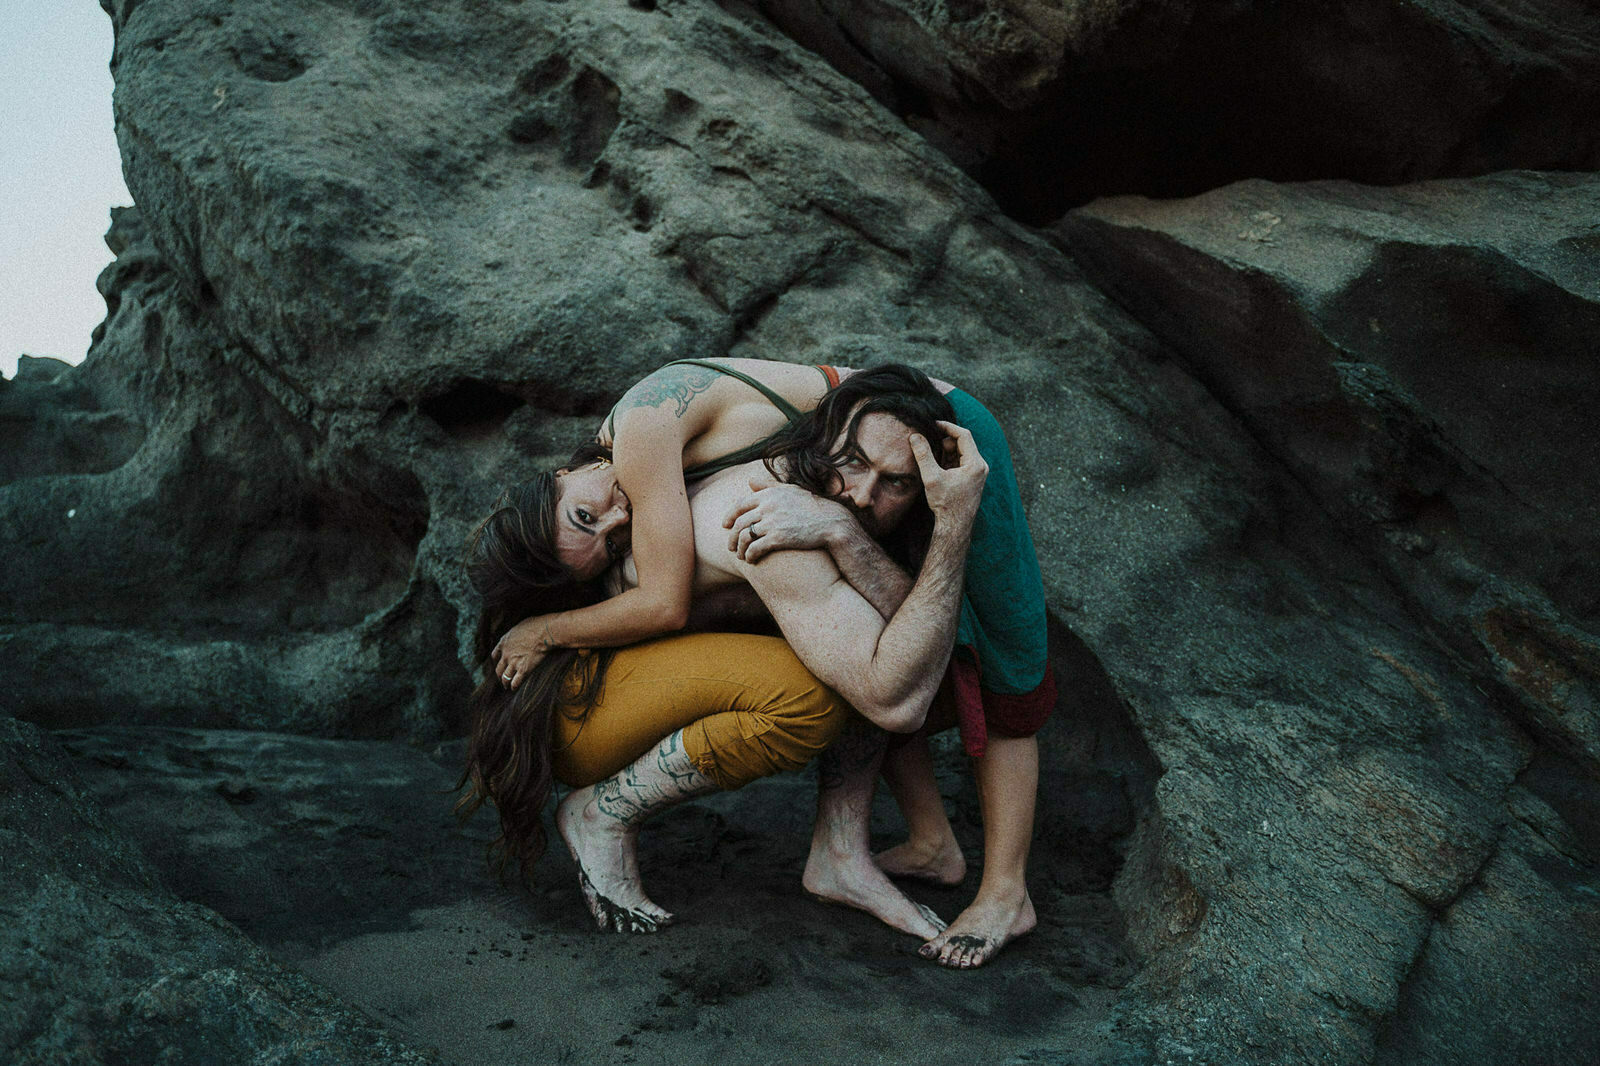
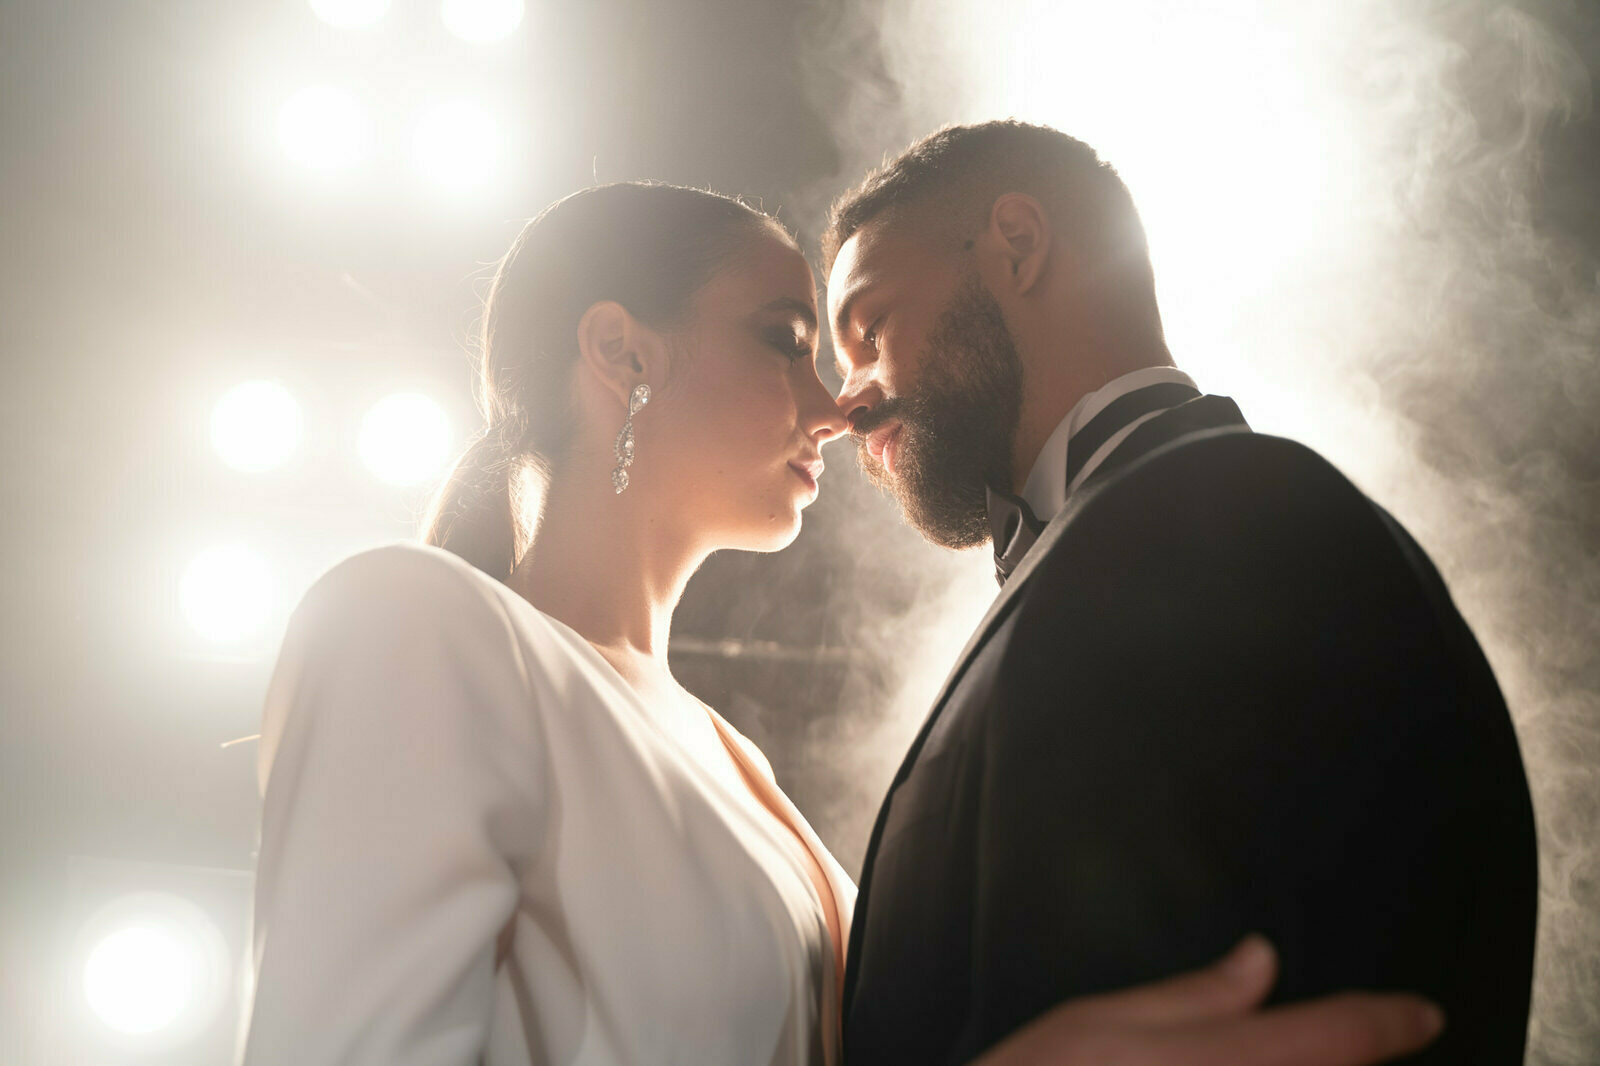
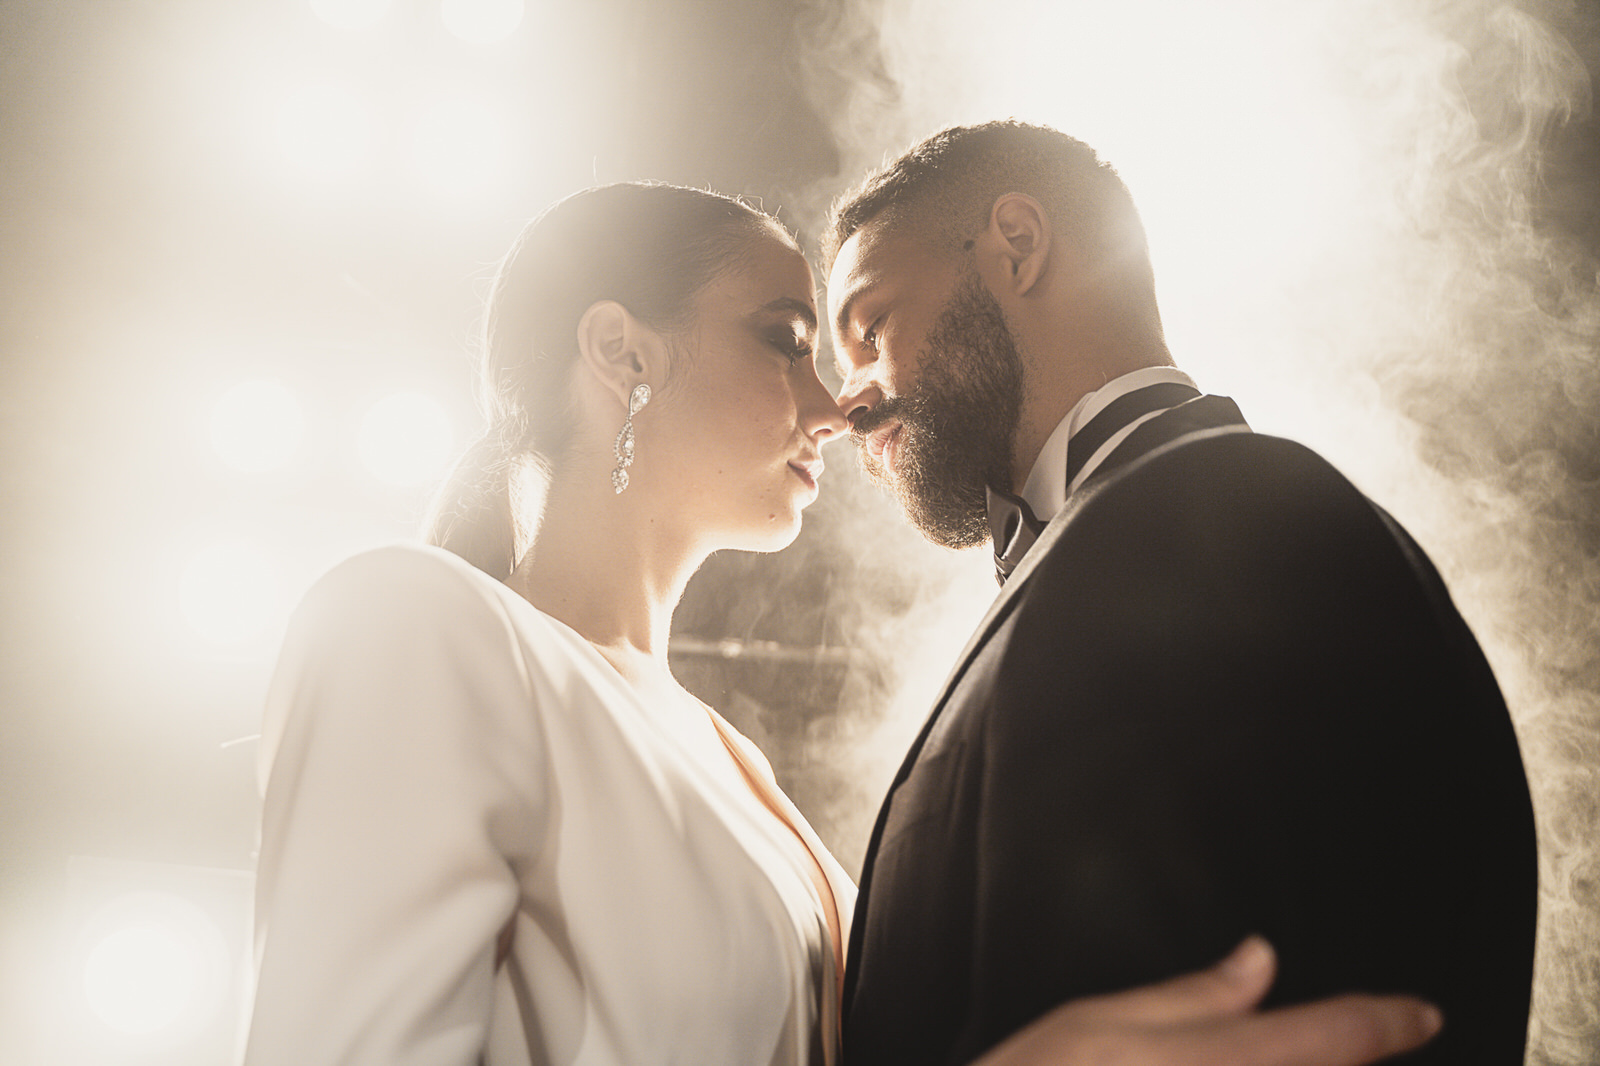
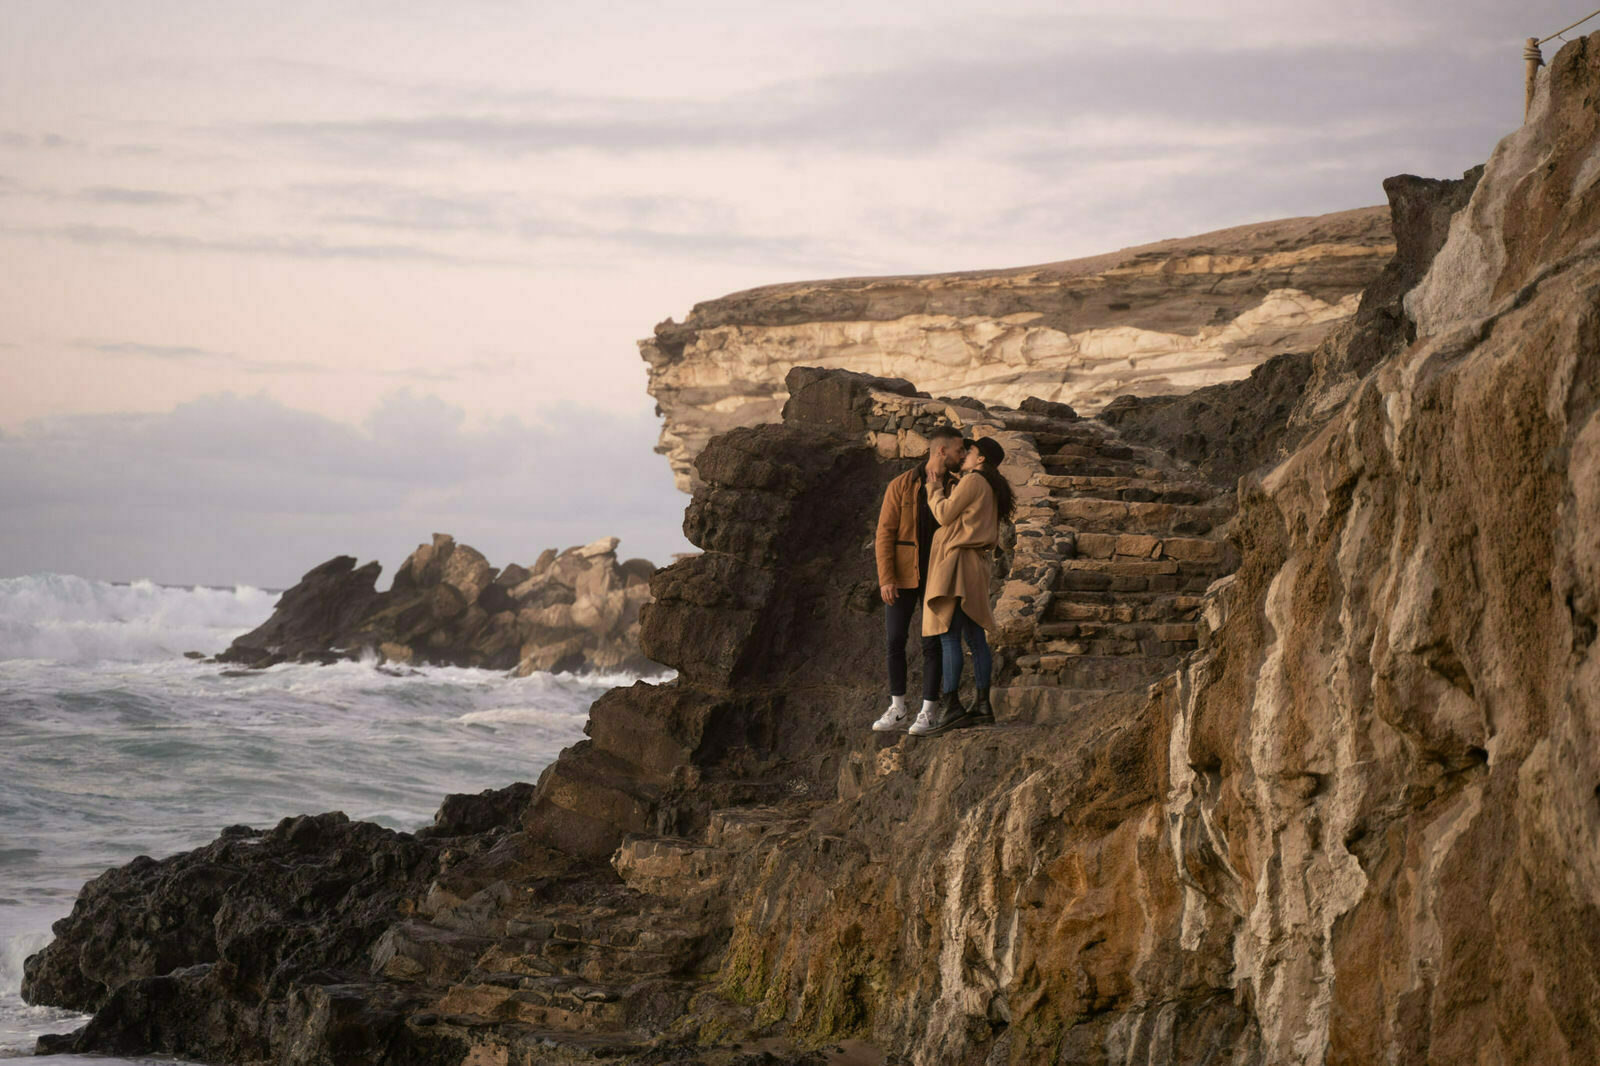
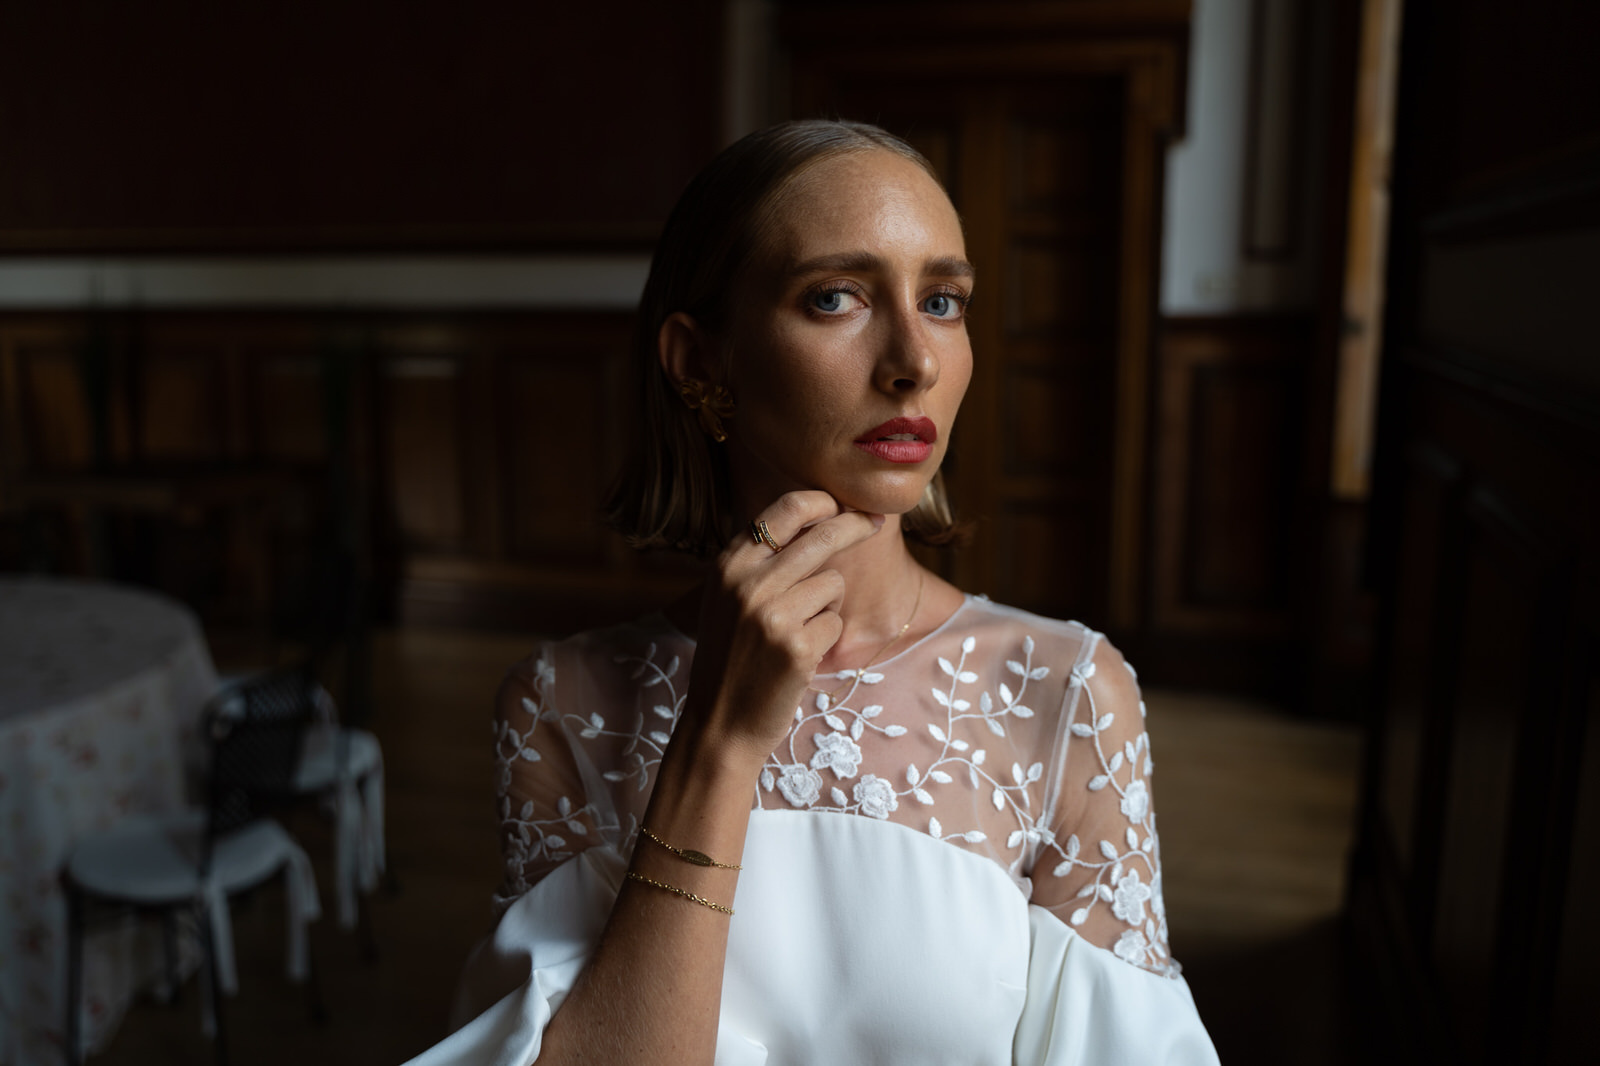
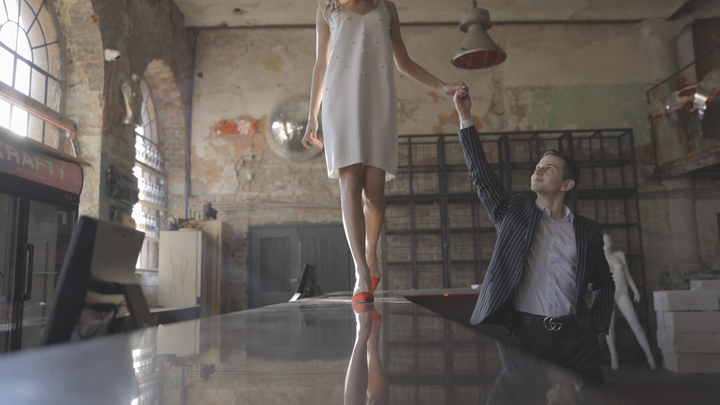
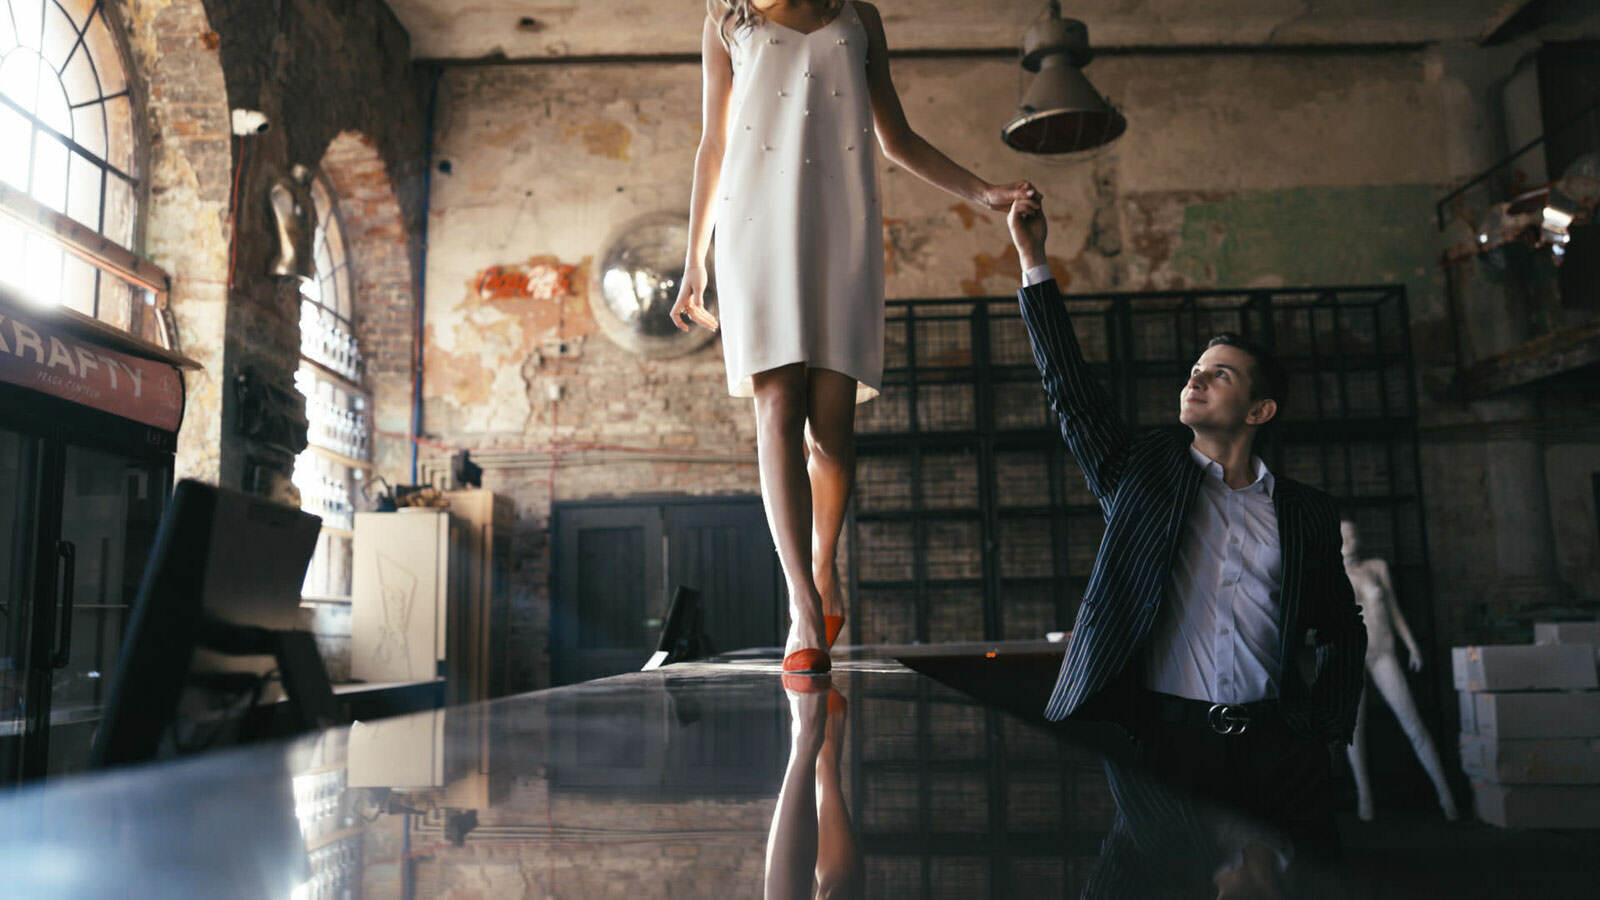
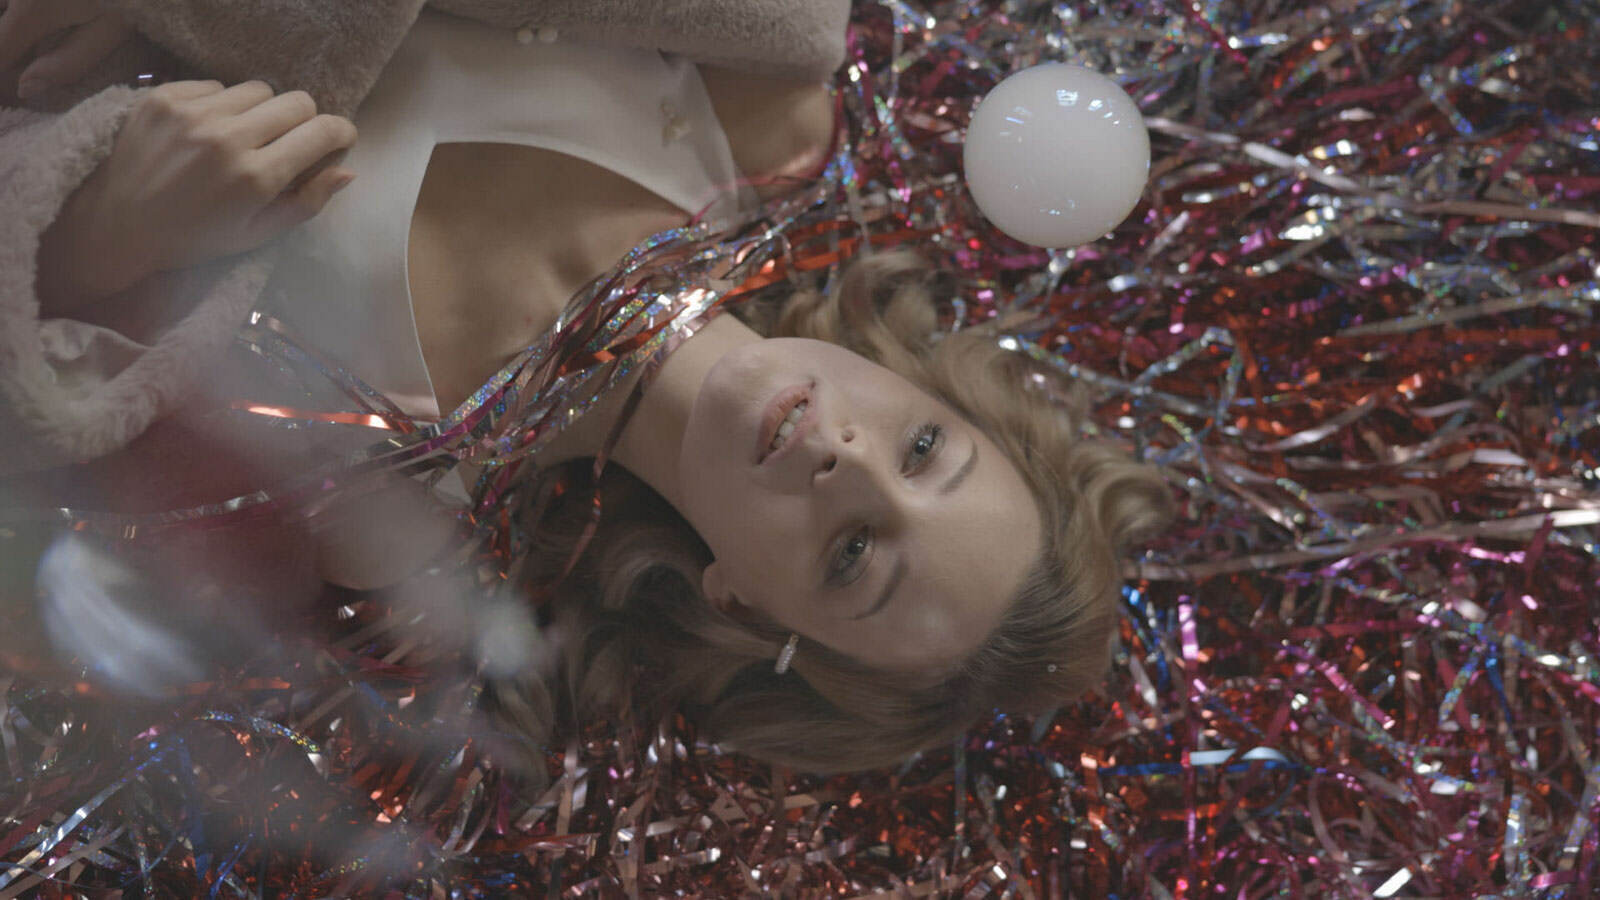
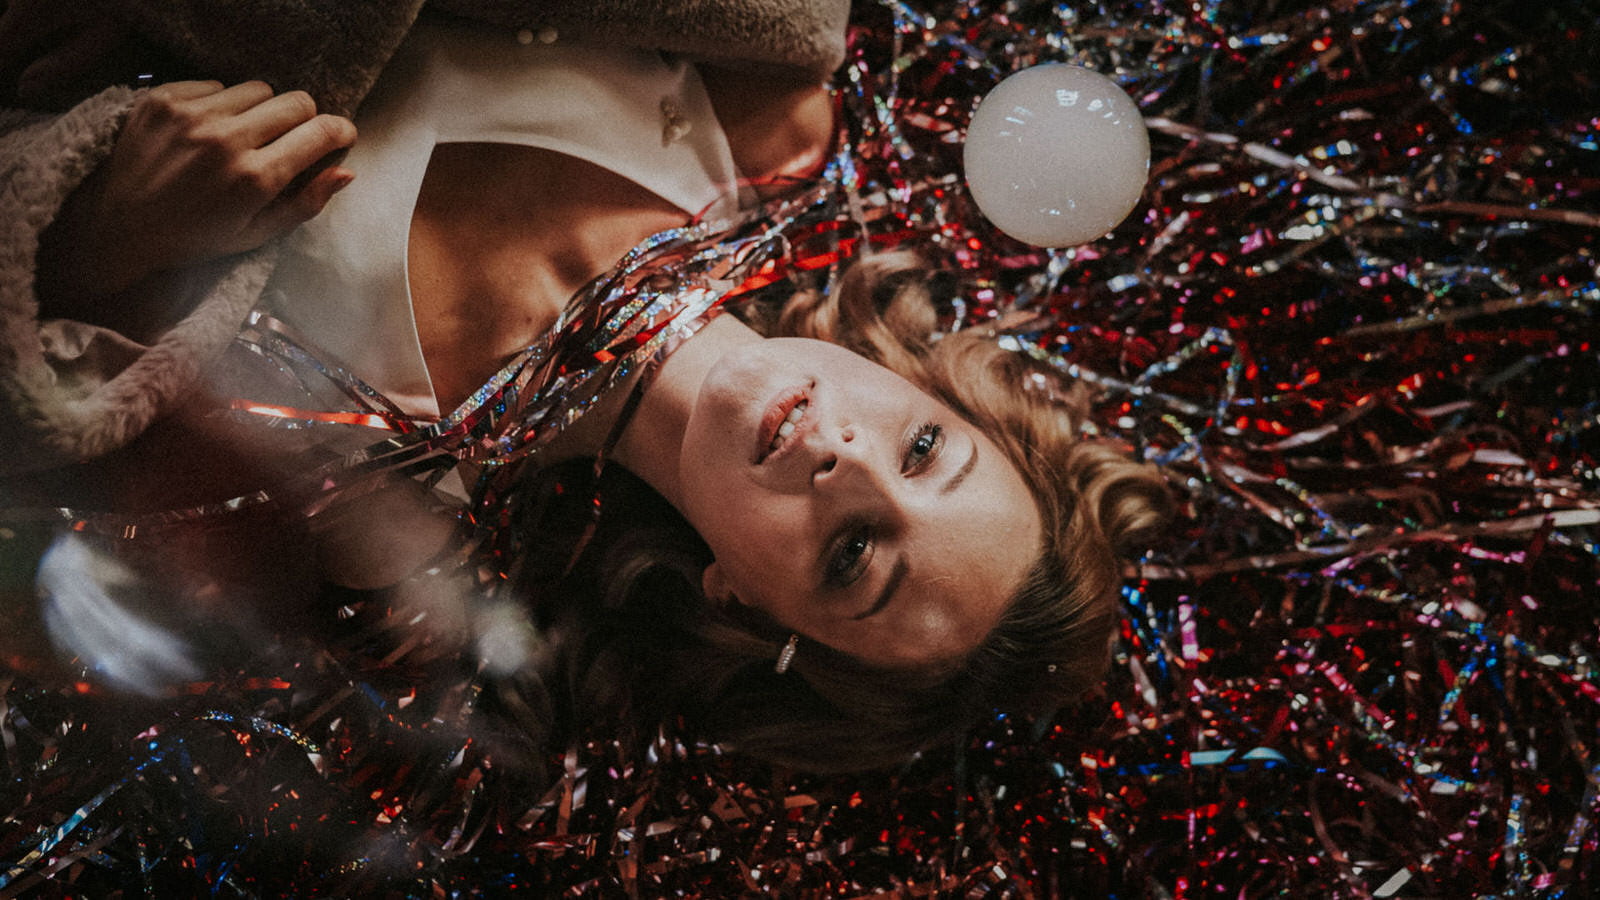
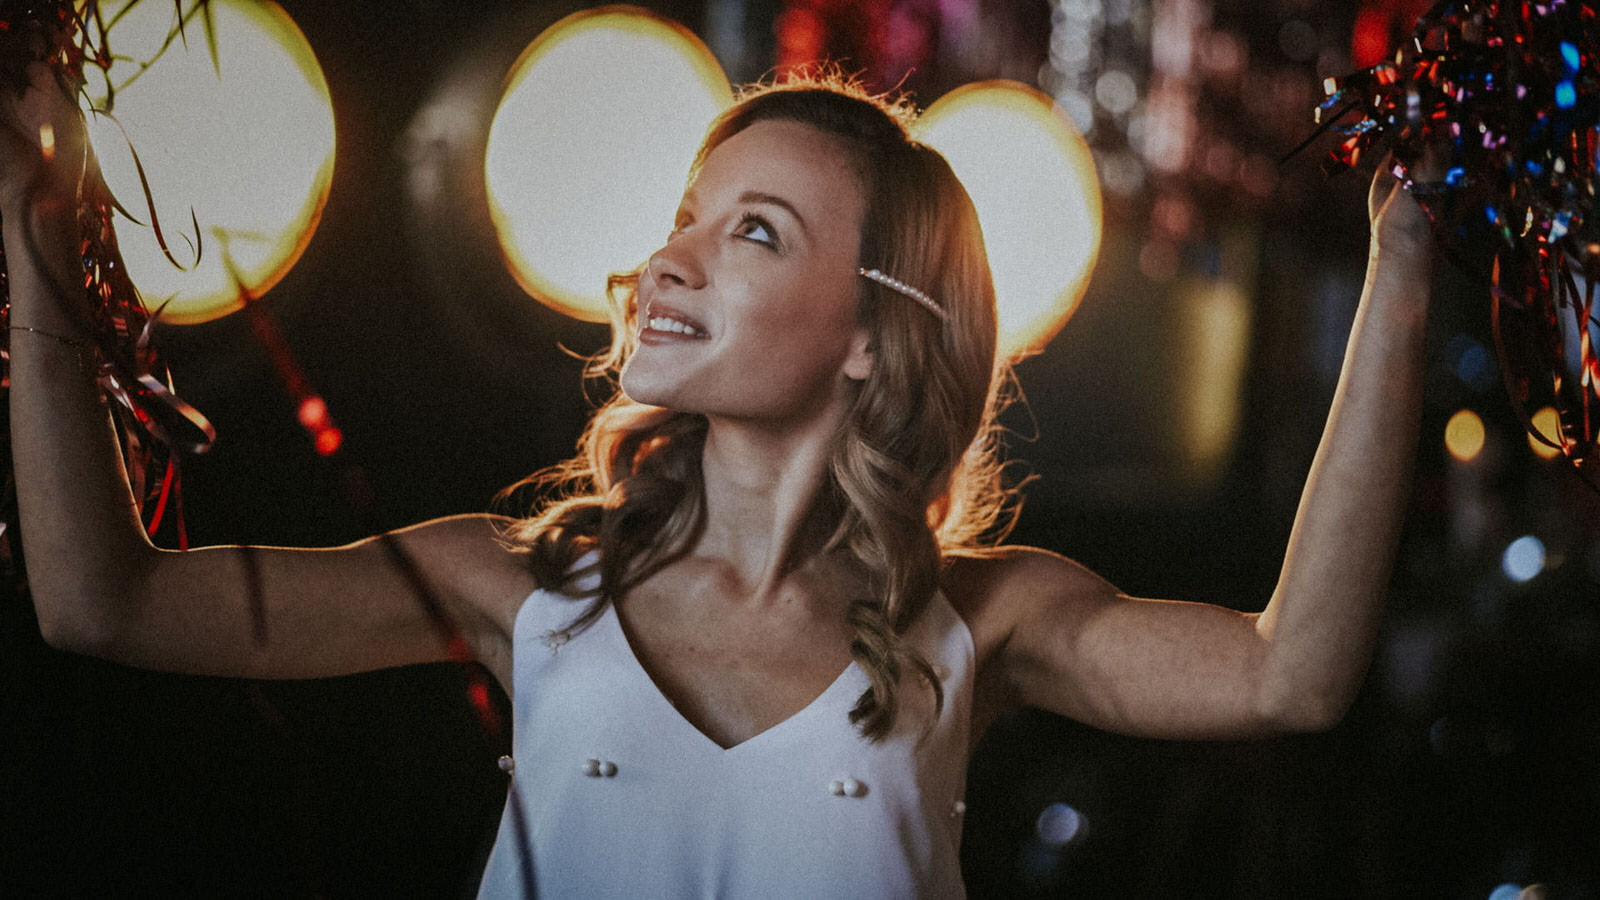
Examples of our Best Wedding LUTs for Video Editing in action
When it comes to wedding film you want to create for the couple, highlighting the best moments of the wedding day it’s not enough. The wedding day is planned by months, there is a lot of work and effort involved, and the number of details important to the couple is almost infinite. All these preparation details make the difference. We can make the difference too by taking care of light, colors, contrast and how our video looks, what is its mood.
At the beginning try to find the best wedding LUT or Lightroom preset, one that will make everything immediately better, make the impression of a more mature and cinematic. This is a good starting point. Then there are just a few tweaks here and there, taking care of the right contrast, white balance, and exposure. It’s simple and time saving.
Check out our luts + presets live in Super Weddings works.
The best way to find out how you feel particular look is to check some examples before and after applying LUT or Lightroom preset. There are few photo examples below. Try to focus on the skin tones and the overall mood. Our presets work on any source, no matter if you use RAW files or jpgs. Of course RAW are better than jpgs. They have more information in the file. More information about the shadows, highlights and color.


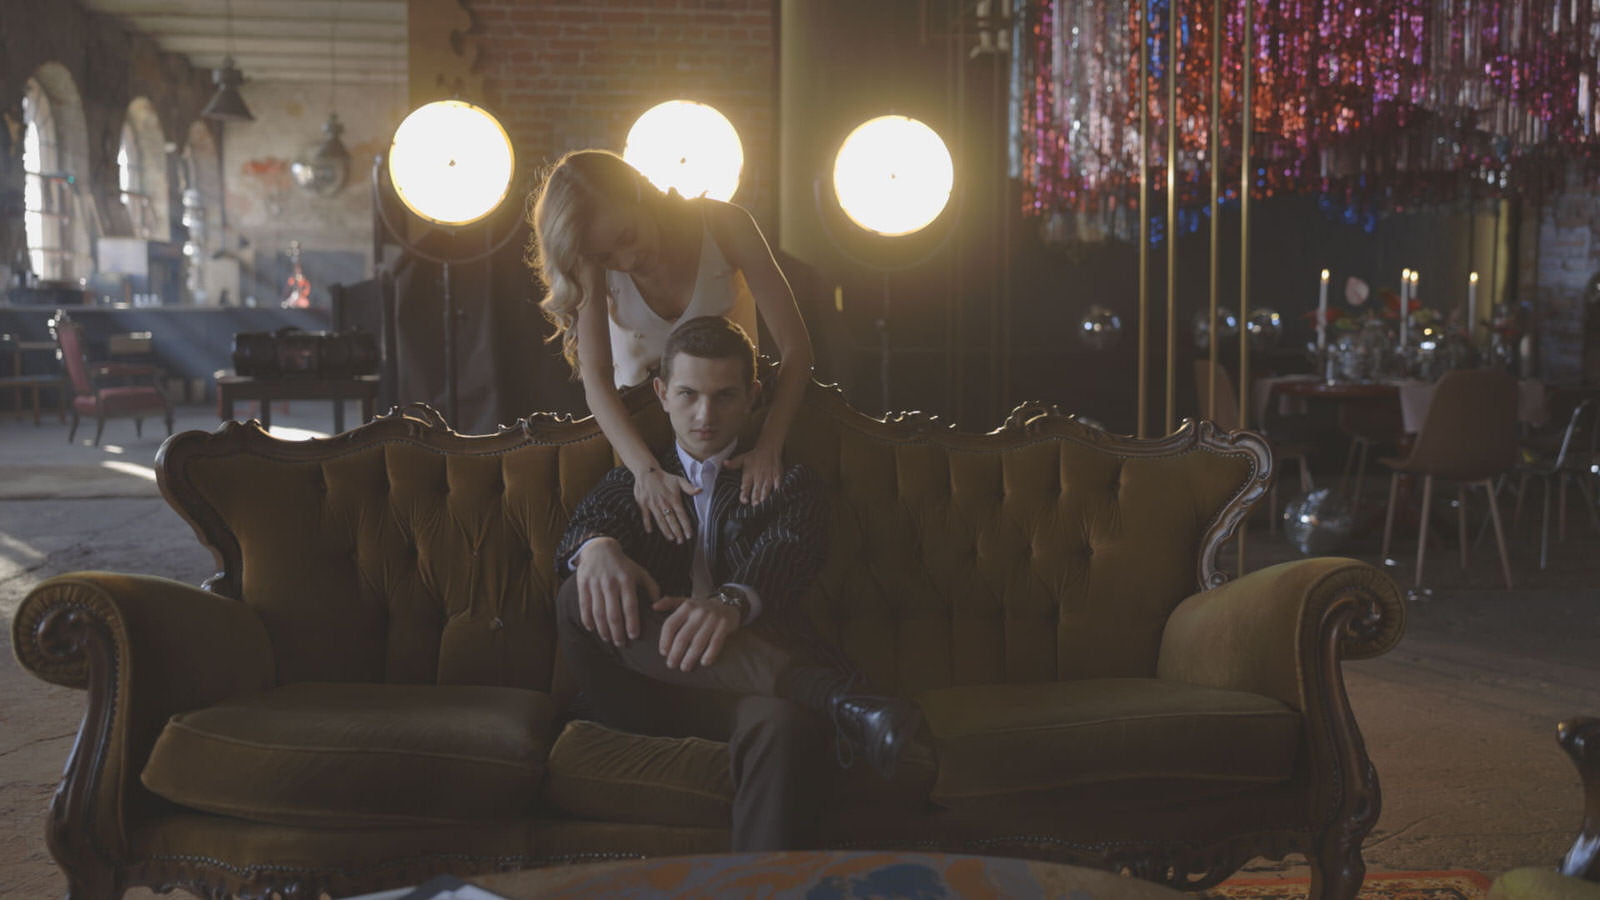
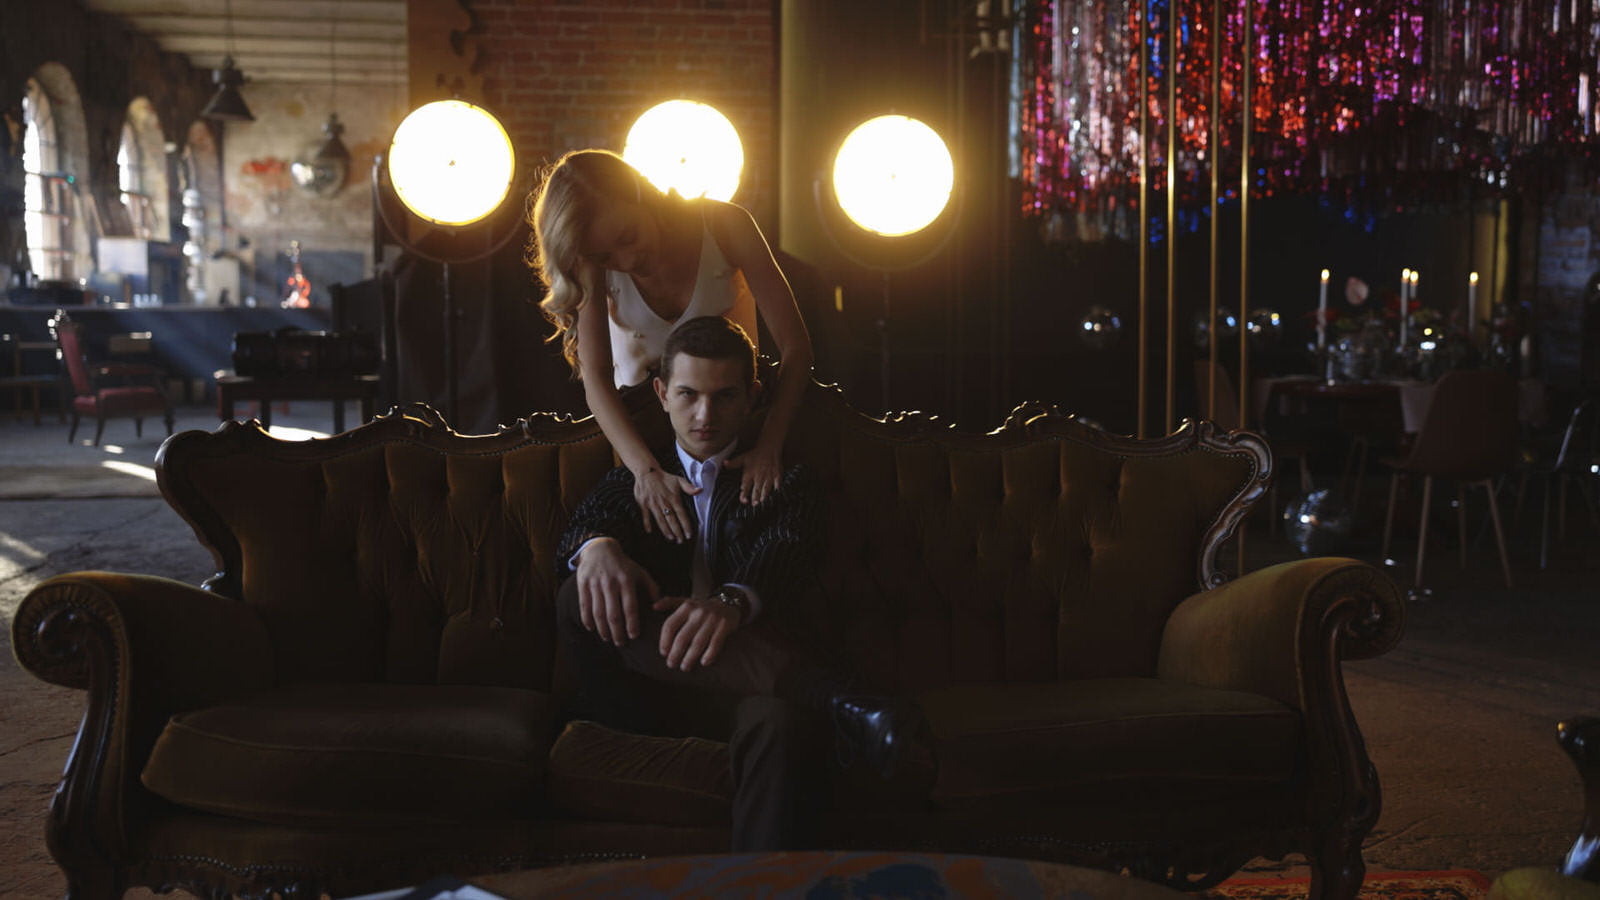
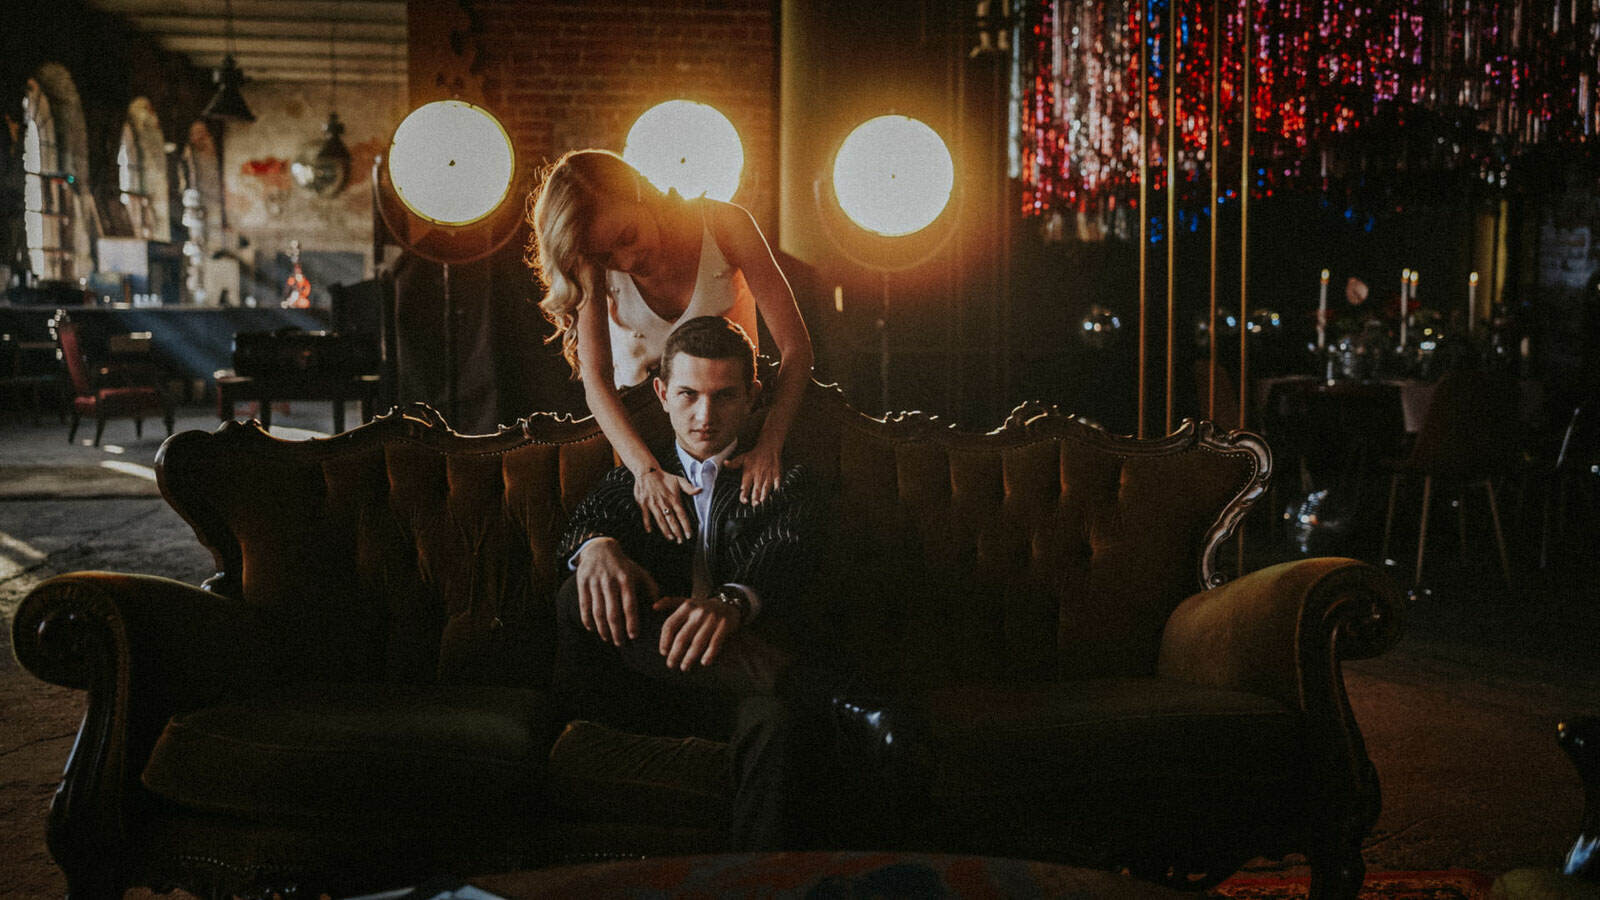
You can also check how our LUTs change the look of the video in the examples below.

Best Wedding LUTs for Video Editing
So let’s grab some theory behind the best wedding luts but we do it in more practical way instead of pure scientific. We know the color wheel from the decades. Isaac Newton was the inventor so you have some idea that this is not a modern thinking. It’s old and rusty theory but it works! Color wheel shows the relationships between colors. Colors that face each other are complementary colors and these relations are very pleasing for human eye. People simply like complementary color contrast! We can see a lot of examples in art, painting, photography and cinema using complementary colors.

Look at your favorite movies. From the decades directors of photography and professional colorists try to make a perfect colleration between skin tone and the rest of the frame. Every natural looking skin tone has some varieties but almost always is actually a blood color which is located somewhere between red and orange. On the opposite side there is a cyan. Now you can understand why a lot of blockbusters use teal & orange look. It’s nothing but one of the smartest way to use complementary colors in the frame – orange for skin tones and blue for the rest.


So, do the best wedding LUTs use complementary colors? Yes and no, it’s not B&W type answer. Human eye almost always prefer warm look than cold. Especially in wedding territory. We like earthy, moody, warm styles and all of this often correspond with global trends. You just can’t use a cold teal & orange look in boho wedding or some wedding elopement in the mountains or the forest. The most important qualities of these styles will not be emphasized and this i not we are looking for.
So what will the best wedding LUTs and presets look like? We are looking for the package that includes:
- warm, bright, earthy look with pleasing skin tones
- some of them may be a teal & orange but the warmer ones
- varieties of looks – every place in the world is different, has different lighting conditions, different density of air and you should have the choice to pick the best wedding LUT for specific situation
- LUTs and Lightroom presets for perfect matching video and photo
Why our wedding LUTs are different?
Flames & Roses is created by the people who are destination filmmakers and photographers. They travel through the Earth looking for the perfect story, perfect frame, perfect light, making all the couples they meet perfect too. But every location is different. The beaches, trees and the sky in Salvador in Brazil are so saturated, crispy, have powerful vibe. The Scottish windy mountains have a completely different charm – moody, toned down. Sometimes you work indoor, sometimes outdoor and you should use any tool you have to highlight the mood you see. There is no one best wedding LUT because every situation is different. You may want to have a choice. That’s why it’s good to have a variety of options, variety of different, good looking LUTs to match the story, the location and the overall mood you want to uplift.


How many of you take pictures while shooting wedding films? Many of you have hybrid cameras like Sony A7III, A7SIII, Canon R5, R6 or Fuji systems and all of them are capable to make insanely good videos and photos. So if we take both video and photo probably we want to make it consistent. We want to create a whole coherent story where our pictures match the film look we made. It’s so easy when you have an opportunity make consistent look by adding Lightroom presets and LUTs with the same color settings. Flames & Roses packages are designed for it! You have a variety of best wedding LUTs and best wedding Lightroom presets in one package. It’s actually a one click solution.
So, once again, why our wedding LUTs are different?
- wedding films and photos are our jobs and we create presets and LUTs also for ourselves to make our life easier
- we give you the same looks for both videos and photos – best wedding LUTs and Lightroom presets.
Wedding LUTs for Premiere Pro
Adding a LUT in Premiere Pro is very easy. Lumetri tool/color tab is the way to go. Color grading is all about control. The smartest way to use LUTs is to create an adjustment layer and put it above your clips on the timeline. Then apply Lumetri on adjustment layer and choose your favorite LUT on it. Why adjustment layer and not individual clip? What if you change your mind and you want to have different look in whole video? You don’t have to go into all individual clips for the tweak, just only make a change on the adjustment layer. Working on the adjustment layers is very handy. You have easy access to all your looks, you can even make crossfades between them.
Which cameras and profiles work best with wedding LUTs?
It can be said that the best camera is the one that you have in your hands in right time and space. It’s actually a tool. A tool that can be mastered by you. Look at the Vimeo best picks and read about the specs. Many of the great, awesome looking inspirational videos are made on the equipment that many of us have or can afford it. You don’t need Arri Alexa or Red camera, you don’t need 6K or even 8K resolution to make you wedding film beautiful. Sony A7 line, Panasonic GH line are actually a wedding industry standard cameras. You never go wrong with the A7III, the GH5 or any Canon R line camera. Even older cameras like GH4, Sony A6000 or Fuji stuff are the way to go. Of course, all drones like Mavic Pro, Air or GoPros are in line. It’s all up to you. Use whatever you are comfortable with!
What about picture profiles? We can divide all picture profiles into two groups:
- Rec. picture profiles – more standard looking profiles with more natural contrast and colors.
- LOG picture profiles – contrast and colors are washed out and they need some care before applying the LUT. There are two ways – it can be done manually by increasing contrast, saturation, making some curve adjustments or by corrective LUT (normalization). There are plenty of corrective LUTs changing LOG into Rec. available on the website of camera manufacturers. Hint: try to use the ones you already are included into your software. Premiere Pro has several corrective LUTs for Arri cameras for example. Check them out on Sony or Canon LOGs ‘cause the effects may be surprising!
Is it better to use LOG than more natural looking pictures like Cine-D, Cine-V, Cine 2 (depends on the camera) or standard picture profile? LOG gives us more picture information, has more dynamic range. It’s easier to recover some crashed highlights and shadows in color grading stage, but overall it’s tricky to use. Anyway, use picture profile that you already know and which is comfortable to you in use. Make sure to convert LOG to something that looks natural before applying our best wedding LUT.
Here, there are some examples of grading Canon C-LOG from R5 which is hell of a camera by the way! First picture is pure LOG. The second pic is after quick conversion from LOG to Rec. We’ve used default Premiere Pro corrective LUT for Arriflex D-21 camera, which is definitely not optimal and intended for work with different camera but it works awesome on Canon LOG. The last one is after applying our Canon R5 LOG LUT which we will give you for absolutely free!


- LOG
2. quick LOG to Rec. convertion
3. Flames & Roses C-LOG LUT

Best Free Wedding LUTs?
Everybody is looking for the best free wedding LUTs on the internet, and honestly, there is a ton
of random look up tables and presets that you can download. There are even packs of 25 + free wedding LUTs – but you know what? Most of them are total crap. Sorry for being maybe a little harsh, but after so many years working in the industry are trying so many cameras, settings, profiles, and working in different weather, sun and color conditions we tried out possibly almost all of the LUTs and Presets that are out there, and for us it simply was not working at all. There was always something missing. So what did we do? We have came to the understanding that we want to create a wedding LUTs and presets store with the most amazing looks that worked for us over the years and offer them to you. But before you go all in and purchase our packs we want to give you something to try out – a free wedding LUT, so you can make up your mind about our work.
So if you were looking for the best free wedding LUTs on the internet – we got you covered. We have prepared something super special for you and all you need to do is to click below, sign up to the newsletter and your brand new free wedding LUTs is arriving to your email.
How to use wedding LUTs in Premiere Pro – step by step
Just copy/paste received LUTs into directory:
On a PC C:\Program Files\Adobe\Adobe Premiere Pro 2020\Lumetri\LUTs\CreativeOn a Mac /Library/Application Support/Adobe/Common
As we wrote before the best wedding LUT is an incredibly fast and easyway to make your footage pop and shiny. If you work with standard color profile on your camera you can easy go for the wedding LUT in Creative tab right now, but if you use LOG footage there is a need to use a corrective LUT to bring contrast and color back. Everything is very easy and fast in Premiere Pro by using the Color workspace.
It’s better to use any LUTs on adjustment layers. You can always change you LUT without making any change on particular clip on the timeline. LOG – open Basic Correction tab and try to play with built-in default corrective LUTs. There a few of them, mainly for the Arri cameras but give them a shot. If you are unhappy with the results try to find a corrective LUT on the official website of your camera manufacturer. These default LOG to Rec. LUTs work insanely good with Canon LOG footage, but you can even use them for Sony HLG footage! But probably you will need to set the opacity of adjustment layer on 70% or so, because HLG is semiLOG type and corrective LUT may be too strong for them.

Of course you can make a simple correction by yourself adding contrast and saturation on Basic Correction tab. Bear in mind that this is no optimal solution. Many of LOGs have dislocated color tones and it’s hard to make it right without running deep into particular tints and hues.
Ok, now the magic and fun begins!
Open Creative tab On the Color workspace and choose your best wedding LUT from your downloaded collection. Now you can adjust the intensity of LUT for your taste and preferences. Sometimes particular look will be the best on 100% Intensity, sometimes on 50%. Sometimes there is a need to go back to Basic Correction tab to make some minor tweaks and adjustments. Try to play with Temperature and Tint. Weddings videos like to be warm and bright!

Once again, step by step:
- Make your edit
- Create an adjustment layer and put it above the clips on the timeline
- Open Color workspace
- There is a Lumetri control panel, click on Basic Correction Tab
- If you shoot LOG under Basic Correction, select the Input LUT dropdown menu, choose one of the existing ones or click Browse… for searching location of your correction LUT. Of course, you corrective LUTs you can copy to the directory: C:\Program Files\Adobe\Adobe Premiere Pro 2020\Lumetri\LUTs\Technical and they will be automatically listed here
- If you shoot standard footage (Rec.) you can make some adjustments in Basic Correction tab
- Open creative tab and choose your best wedding LUT from dropdown menu
- Set the intensity of the look
- Enjoy your wedding moody and shiny video!
Frequently Asked Questions
1. What is a wedding LUT?
LUT – lookup table is purely scientific term. For simplicity, let’s assume LUT is a kind of color preset. Wedding LUT will emphasize the mood of the big day, all those bells and whistles like location, bride and groom’s costumes, decor and all amazing atmosphere. Wedding LUT will be warm, earthy, bright, skin tones have to be natural and healthy looking. Learn more on luts + presets page.
2. Which software supports wedding LUTs?
Almost every edit software can handle LUTs. Avid Media Composer, Adobe Premiere Pro, DaVinci Resolve, Final Cut Pro and many others.
3. How to upload LUTs to premiere pro on a mac?
Copy/paste received LUTs into directory: /Library/Application Support/Adobe/Common
4. How to upload LUTs to premiere pro on a PC?
Copy/paste received LUTs into directory: C:\Program Files\Adobe\Adobe Premiere Pro 2020\Lumetri\LUTs\Creative
5. How to upload LUTs to Final Cut?
LUTs can be applied by adding a clip effect to timeline clips. Select a clip in the Final Cut Pro timeline. Open the Effects browser, double-click Custom LUT from the Color category. Go to Video inspector, in the Custom LUT section of the , click the pop-up menu and pick “Choose Custom LUT.”
6. How to download the free wedding LUTs?
Click in the link below, sign up to the newsletter and brand new free wedding LUTs will be sent to your email.
7. How can I pay for the wedding LUTs?
It’s really simple, you can use either paypal or stripe.
8. Will I receive an invoice?
An invoice will be automatically sent on your email.
great
Awesome LUTS!!
Nice!